Last updated November 17, 2026


Free written scope consultation - allowances, timeline, and change-order rules on paper before a single trade is scheduled
Driveway & Pavers Maintenance Checklist for Hialeah Homeowners
Efflorescence, the white mineral crust that shows up on pavers within 18 months in South Florida, isn’t a defect. It’s a drainage signal. Most Hialeah homeowners see that chalky bloom on a driveway or patio, reach for a surface sealant, and buy themselves one quiet dry season before the problem returns. Treating the symptom without chasing the source guarantees the crust is back by the next June. This checklist is built around the way pavers actually fail in Hialeah, in the order they fail, so you spend money on the thing that’s breaking rather than on the thing that’s visible.
Quick Answer
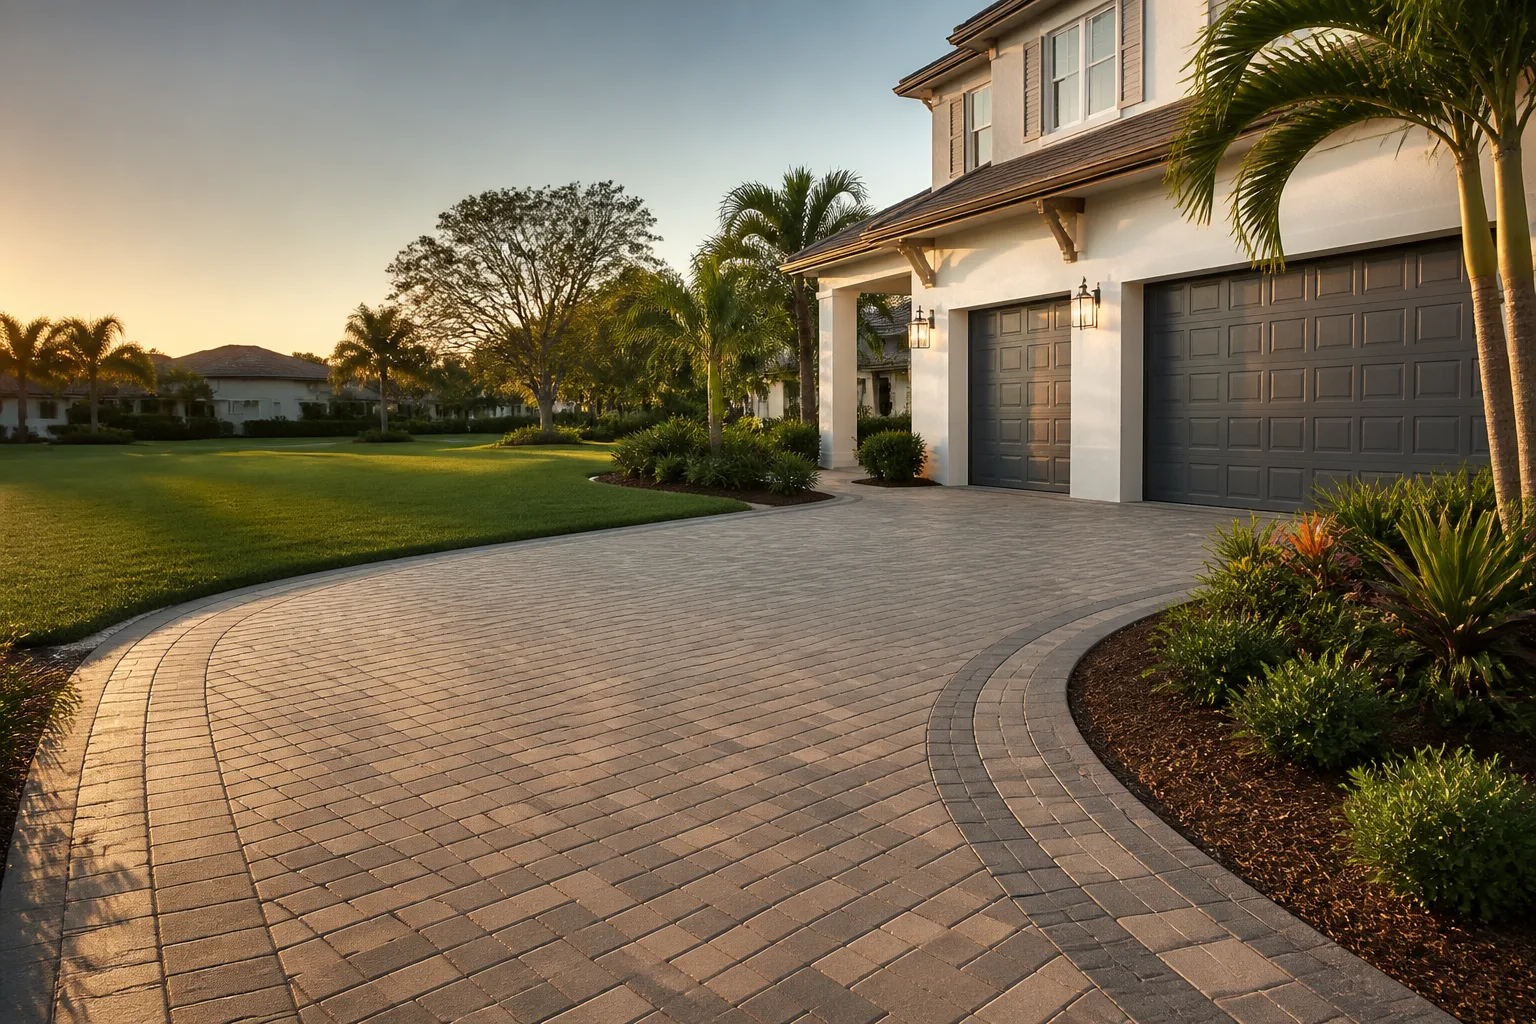
Pavers in Hialeah degrade in a predictable sequence: efflorescence from limestone leaching first, joint sand washout during the May to October rainy season second, and UV-driven color fade across the long run. Proactive joint re-sanding runs roughly $1.50 to $2.50 per square foot. A full paver reset after base failure runs $8 to $14 per square foot. The gap between those two numbers is the entire argument for a maintenance habit.
Styles & brands we work with
- Kitchen remodeling
- Bathroom remodeling
- Home additions & ADU
- Roofing
- Windows & doors
- Driveway & pavers
- Fence
Table of Contents
- Why Hialeah Pavers Fail Differently Than Anywhere Else
- The Three Failure Modes and Who Should Fix Each
- Dry Season Checklist: November Through April
- Rainy Season Protocol: May Through October
- Why Standard Joint Sand Fails and What Holds
- The Dollar Cost of Deferred Maintenance
- How to Document Paver Condition So Estimates Stay Honest
- Common Mistakes to Avoid
- When to Call a Professional
Why Hialeah Pavers Fail Differently Than Anywhere Else
The maintenance advice you find online is usually written for a temperate climate with a freeze-thaw cycle. Hialeah doesn’t have one. What it has is alkaline limestone sitting close to the surface, rain that arrives in concentrated volume from June through October, and UV exposure above 6,000 hours annually. Each of those stresses pavers in a specific way, and together they produce a failure sequence you won’t read about in a national paver care article.
The limestone is the part most people miss. Hialeah sits on oolitic limestone, the same formation the city is built on. When water moves through the base and carries dissolved minerals up through the paver joints, those minerals crystallize on the surface as efflorescence. That’s why a paver driveway in Hialeah can look decades old in 18 months while an identical install in a neutral-clay region looks new for years. The crust is proof that water is moving where it shouldn’t.
Rain volume is the second factor. Hialeah averages more rain in the June-through-October window than most of the country gets in a year. Joint sand is the first thing that goes. It’s designed to lock pavers against lateral movement and channel water off the surface. When it washes out, pavers start to shift, edges chip, and weed growth finds the gaps. A driveway that held tight through the dry season can lose most of its joint sand in one active wet season.
UV is the slower one. Pavers with a color-through body hold up far better than surface-colored products, and Hialeah’s sun load is unforgiving. Look at any paver drive built with entry-level product in Hialeah, and you’ll see the difference in a few years: chalking on the north-facing side and sun-bleached color on the south. If you want the full install picture, our Driveway & Pavers in Hialeah page covers base prep, product selection, and what a real install looks like.
The Three Failure Modes and Who Should Fix Each
Not every paver problem needs a contractor. Sorting the three Hialeah-specific failure modes by who should handle them is the fastest way to avoid spending money you don’t need to.
1. Efflorescence (limestone leaching)
White crust, most visible on shaded sides and near low spots. This is the one to take seriously. A homeowner can clean the crust with an efflorescence-specific cleaner, but cleaning without fixing the drainage that caused it just resets the clock. If efflorescence returns in the same spot within six months, the source is under the pavers and needs a contractor to look at drainage and base.
2. Joint sand washout
Visible gaps, loose sand at the driveway edge, pavers rocking when you walk on them. A homeowner can identify it in about five minutes. Refilling joints with a proper polymeric sand rated for humid climates is straightforward enough to do yourself on a small patio, but a 500-square-foot driveway is a professional job – the labor to get the compaction and joint fill right over that area is not worth learning on your own surface.
3. Color fade and surface degradation
Gradual sun bleaching, chalking under your hand, and in bad cases a surface that starts to pit. This one usually doesn’t need intervention beyond noting it. If the pavers are surface-colored and the color is gone, sealant won’t bring it back. Replacing the surface layer is a contractor conversation.
Dry Season Checklist: November Through April
The dry months in Hialeah are your window to do anything that requires pavers to be dry in place. Polymeric sand needs dry joints to cure, and any drainage correction is easier when you’re not racing a thunderstorm. Build the checklist around a single weekend in late November and a follow-up in February.
- Walk the full surface and mark. Use a piece of chalk to circle any paver that rocks underfoot, any joint wider than a quarter-inch, and any spot where efflorescence is visible. Photograph the whole drive from the street and the highest corner.
- Clean with a paver-safe cleaner. Never pressure-wash a paver surface at high pressure; it strips the surface and makes pitting worse. A low-pressure rinse with a pH-neutral paver cleaner is the right tool.
- Re-sand the joints. This is the big-ticket item in the checklist, covered in detail below.
- Check drainage slope. Stand at the high point with a level or pour a bucket of water. It should move toward the street, a drain, or the swale, not toward the foundation. Standing water anywhere on the surface after 30 minutes means the base has settled or the slope was wrong from install.
- Inspect edges and restraints. The paver edge restraint holds the whole field in place. If it has separated from the pavers or cracked, the field will start spreading. This is a contractor fix; don’t reset it yourself.
- Note color changes. Compare the current photos to last year’s. Slow fade is normal. Sudden fade is a sealant or surface issue.
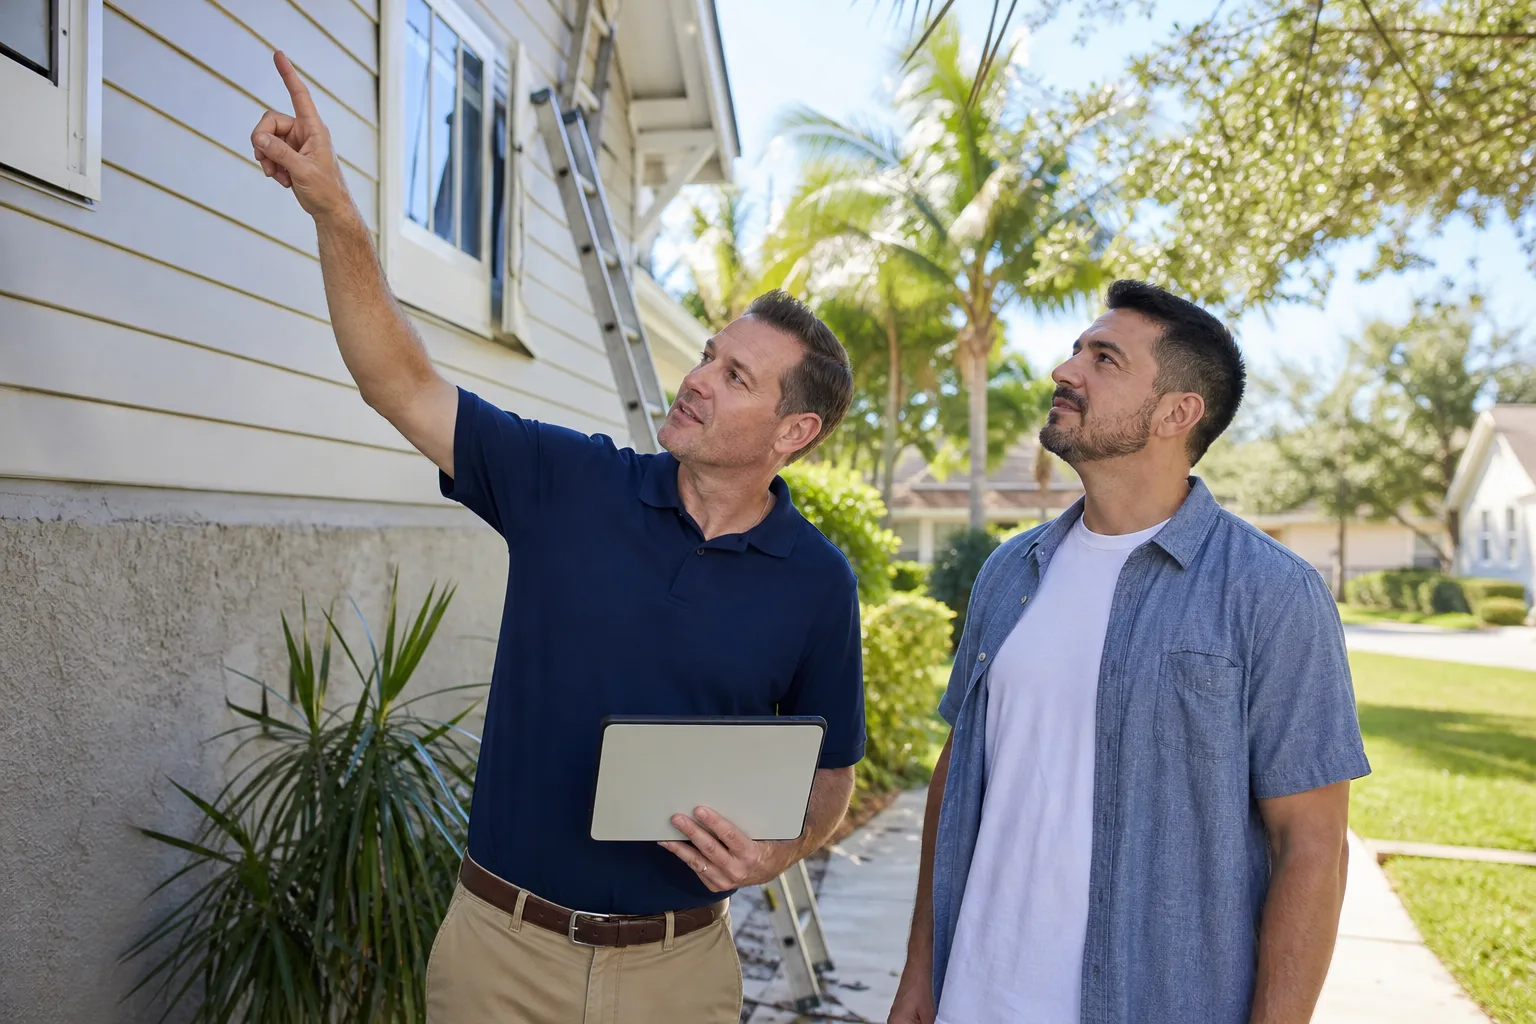
Late November is also when you want a second pair of eyes if you’ve had any drainage concern. Our team has reviewed a lot of Hialeah paver drives that turned out to have a hidden low spot under a perfectly flat surface. That’s not something a homeowner can see from above.
Rainy Season Protocol: May Through October
During the wet season in Hialeah, your job is observation, not intervention. Polymeric sand won’t cure in a joint that’s getting rained on every afternoon, and any repair you attempt between June and October is likely to fail. Save the actual work for November. What you do during the rain is catch problems early enough to make the November repair small.
- Monthly five-minute walk. After the first heavy rain of the month, walk the drive and note where water is pooling. A driveway that drained fine in April and pools in August has a base problem starting.
- Look for joint sand loss after storms. Sand on the apron or in the swale after a storm is your early warning. Note the location. Don’t add more sand mid-season; it’ll wash out again before it cures.
- Watch for weed breakthrough. Weeds growing in the joints mean the joint sand is gone. Pull them before they root deeply; a rooted weed breaks the joint open further.
- Photograph efflorescence. White crust appearing in the same place across two rainy seasons tells the whole story. Capture it now so you’re not guessing in November.
- Don’t seal. Sealing a wet paver traps moisture. Sealing between May and October in Hialeah is asking for a milky film or efflorescence trapped under the sealant. If a contractor wants to seal in July, ask why.
- Check the apron and street edge. The first place water flows is the last place people check. If the street-side edge is undercut or the swale is holding water, the problem is bigger than one joint.
The Hialeah neighborhoods closest to canal banks and in the lower-lying streets off East 8th Avenue tend to see more of the mid-season washout pattern than the higher ground on the west side. That geographic difference is worth knowing when you’re deciding how often to have someone look at the drive.
Why Standard Joint Sand Fails and What Holds
Most paver driveways in Hialeah were installed with silica sand in the joints, and silica sand is the wrong product for a climate with a five-month rain season. It doesn’t set. It relies on friction and the shape of the paver edge to hold it in place, and every hard rain takes some of it. A properly installed polymeric sand hardens when it cures, locking the joints and resisting erosion.
The problem is that not every polymeric sand is rated for South Florida humidity. Products designed for a dry climate cure through evaporation, and in Hialeah the humidity slows that cure or interrupts it entirely. Look for a polymeric sand that explicitly names warm-weather or high-humidity performance. Two brands that hold up in our experience on Hialeah drives are Techniseal and Alliance Gator, both of which offer formulations for this climate. If a contractor quotes a generic bag labeled “polymeric sand” without a brand, that’s the question to ask.
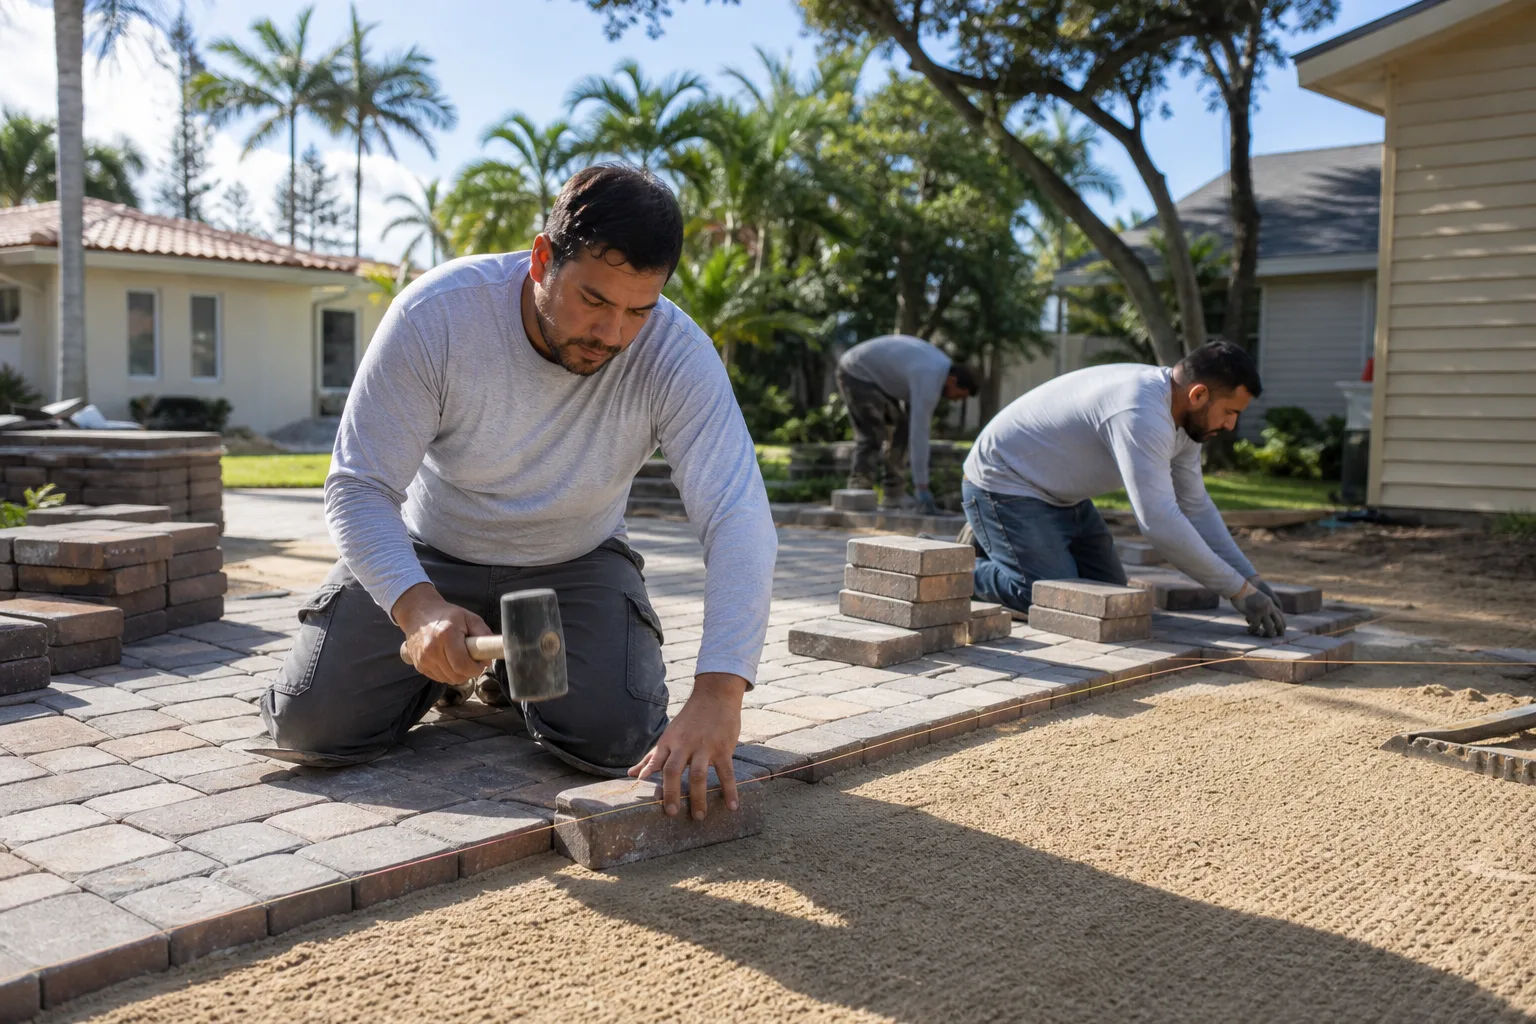
Installation matters as much as product. The joint has to be dry, the sand has to be worked in fully and compacted, and the surface has to be fogged with water carefully rather than soaked. On a 500-square-foot Hialeah driveway, proper polymeric joint sand is a real job – two people, half a day, dry weather. It’s worth it: properly installed polymeric sand should give you three to five years before it needs attention again, versus one rainy season for silica.
The Dollar Cost of Deferred Maintenance
The numbers make the argument better than any explanation can. Here’s what a Hialeah paver driveway costs at each stage, in dollars, in the Hialeah market:
| Task | Cost Range | What Triggers It |
|---|---|---|
| Joint re-sanding (polymeric, professional install) | $1.50 – $2.50 per sq ft | Sand washout, before pavers shift |
| Drainage correction (regrade, add channel drain) | $800 – $2,500 typical | Standing water, efflorescence in one spot |
| Paver reset (lift, re-base, re-lay) | $8 – $14 per sq ft | Base failure, widespread shifting |
| Full drive replacement | $12 – $22 per sq ft | Cracked pavers, sunk sections, no fix |
A 400-square-foot Hialeah driveway re-sanded proactively runs somewhere around $600 to $1,000. The same driveway reset after base failure is $3,200 to $5,600. That’s the entire case: proactive joint maintenance costs roughly an eighth of what a reset costs, and it defers the reset by several years. Add a drainage correction – usually $800 to $2,500, done once – and you’ve likely closed off efflorescence recurrence in the affected area for a long stretch.
One more number worth naming: water sitting on a paver drive for a full season doesn’t just compromise the drive. It finds the foundation. If the drive slopes toward the house, water intrusion into a slab or furniture base can cost far more than the pavers. That’s the scenario where a $1,000 drainage fix is worth doing on its own, before you think about the surface.
We see the same pattern in Hialeah over and over: a homeowner waits two to three seasons, then needs a reset that could have been a re-sand. The gap between those numbers is why professional estimates are worth getting early rather than after the failure. If a written estimate from another contractor has you unsure, we’ll review it line by line at no charge as a second opinion.
How to Document Paver Condition So Estimates Stay Honest
Contractors estimate from evidence. If you hand a contractor a photo set with dates and measurements, you get a price based on what’s actually there. If you hand them a driveway and a memory, the estimate depends on how the day went. Here’s the annual record to keep, roughly 15 minutes of work a year.
- Photograph from three fixed points. Same spot, same angle, every year – the street looking up, the high corner looking down, and one detail shot of the worst joint. The consistency is what makes the record useful.
- Measure the two low spots. Find where water pools and put a tape on it. Standing water 1 inch deep across a 4-foot-wide area is the kind of specific fact that lets a contractor skip a site visit and quote accurately.
- Note joint widths at two reference points. Pick two joints and measure them at the same time each year. A joint going from 1/8 inch to 3/8 inch is the base moving. That measurement changes the recommendation from re-sand to reset.
- Photograph efflorescence in place. Note the date it appeared and the date it cleared. Two seasons of the same pattern in the same spot means drainage, not surface.
- Keep the paperwork. Every written estimate, every invoice, every warranty document. When you sell, that file is a sales tool. When you have a problem, it’s the record that settles it.
We deliver a documented photo record on every visit as a standard deliverable, not an add-on, because that file is exactly what makes the next decision easier. Under Clause 1 of the Haven Standard, the written price comes before any work starts – and a written price with a photo record behind it is a different thing from a number in a text message.
Common Mistakes to Avoid
- Sealing over efflorescence. Sealant traps the mineral crust under a film and makes it worse. Fix the drainage and clean the surface first; seal only after the crust has stopped returning. In Hialeah’s humidity, sealing a wet drive also traps moisture that clouds the finish.
- Power-washing like a concrete drive. A high-pressure wand strips paver surface and forces water into joints, which is the exact opposite of what you want. Low pressure, paver-safe cleaner, and patience.
- Top-dressing with more silica sand. Adding dry silica sand to a washed-out joint is a temporary fix that disappears in the next storm. It has to be polymeric, installed dry, and compacted.
- Ignoring a rocking paver. A rocking paver is a paver whose base has settled. Every step on it grinds the sand under it further. Address it in the dry season; the fix is small at first.
- Trusting a verbal estimate. A contractor who won’t put the price in writing in Hialeah is a contractor who plans to change it. A written scope and a flat price before work starts is the only way to compare two quotes honestly.
- Sealing every year. Sealant does not need annual reapplication – typically every three to five years on a properly maintained paver drive. Annual sealing builds a film that fails and peels in patches, and the repair is more expensive than the sealing was.
- Skipping the dry-season inspection because the drive looks fine. Rocking pavers and thin joints are visible in November and invisible again by the first rain. The drive that looks fine in April is the one that surprises you in July.
When to Call a Professional
Call a contractor when water is pooling anywhere on the drive for more than 30 minutes after rain, when efflorescence returns to the same spot across two rainy seasons, when pavers are visibly rocking across more than a couple of square feet, when the edge restraint has separated from the field, or when you can see the base material through a failing joint. Those five conditions are all beyond joint re-sanding and all need a professional look at the base and drainage. A paver drive that’s structurally failing toward a foundation is a construction issue, not a maintenance one.
Rowan Construction Group Hialeah offers free estimates in Hialeah – call (888) 836-5914. Our written price comes before any work starts, and no change proceeds on a signed change order. If a competitor has quoted you a full reset and you’re not convinced it’s warranted, bring the written estimate and we’ll review it line by line as a free second opinion. If your project also touches adjacent work, we handle Fence Installation in Hialeah and Home Additions & ADU in Hialeah through the same written-price process.
See the difference
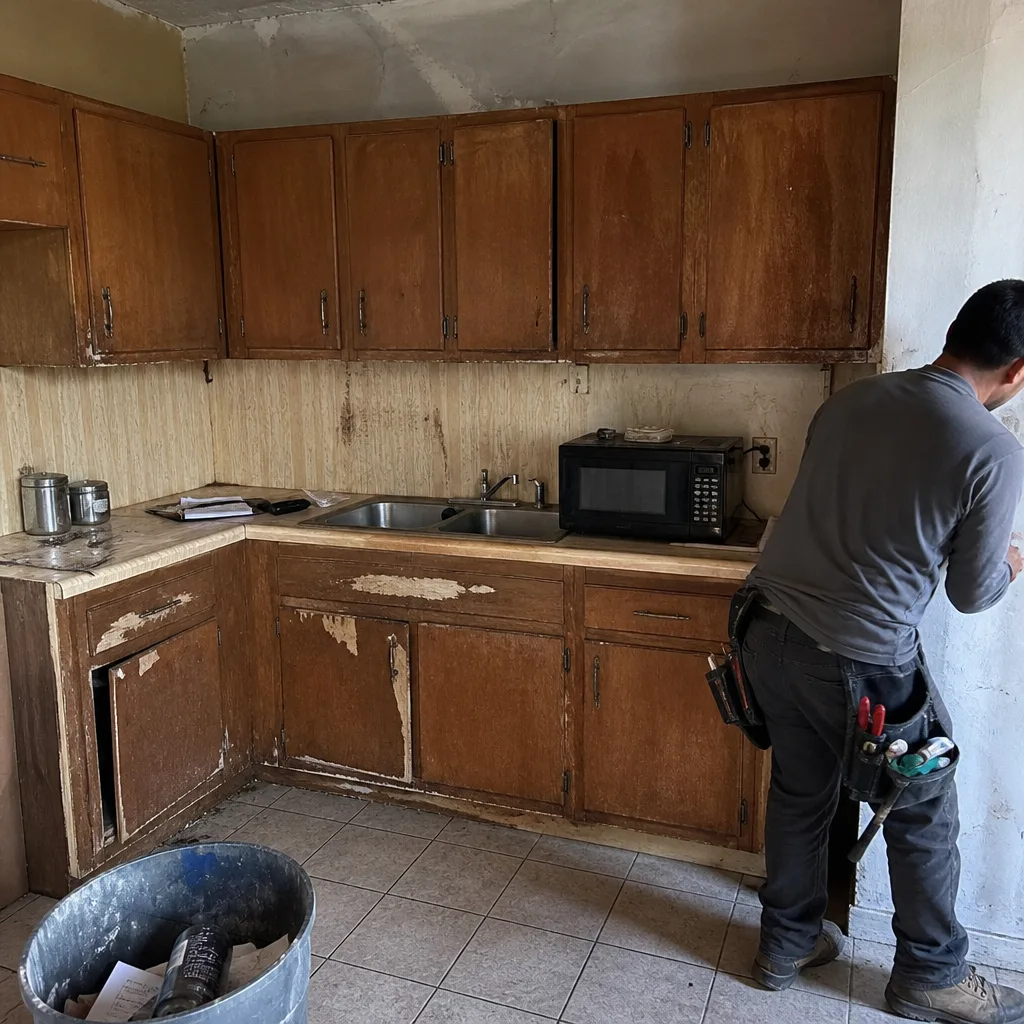 Before
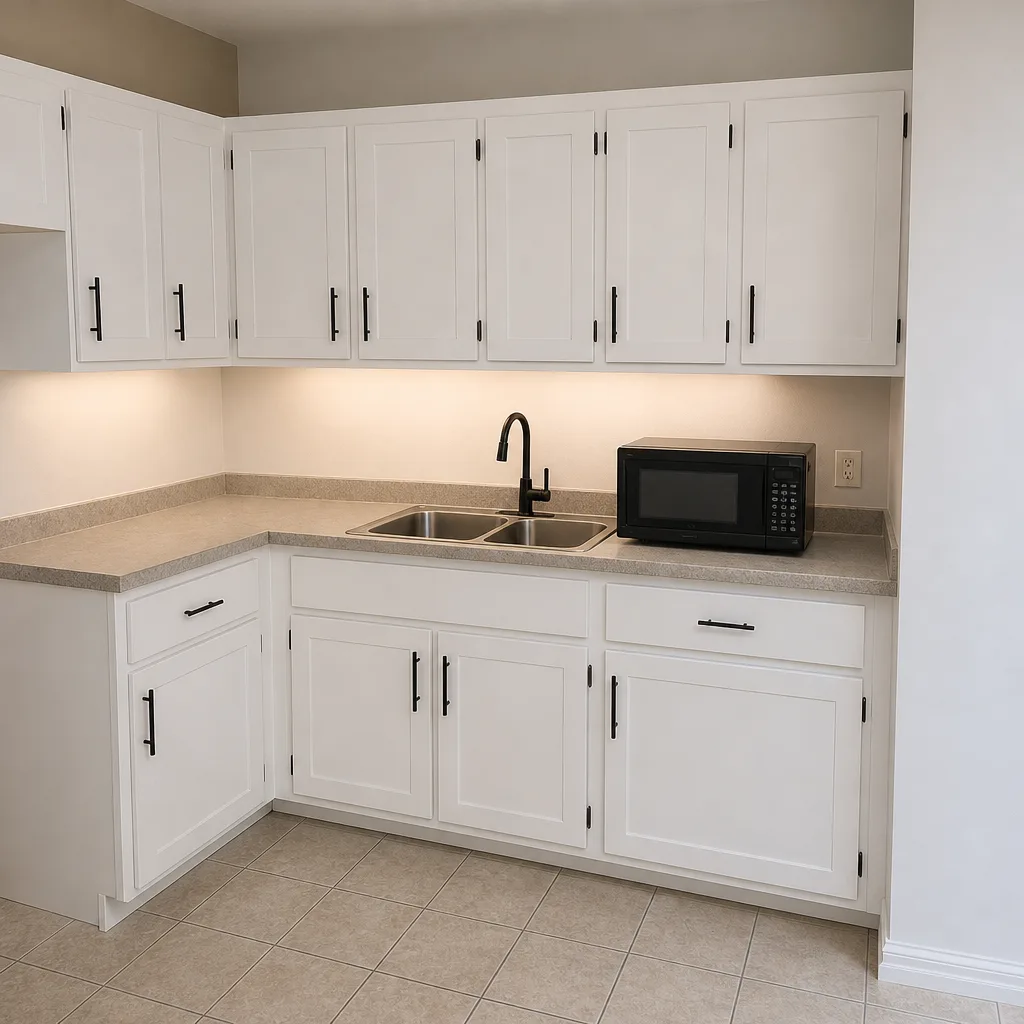 After
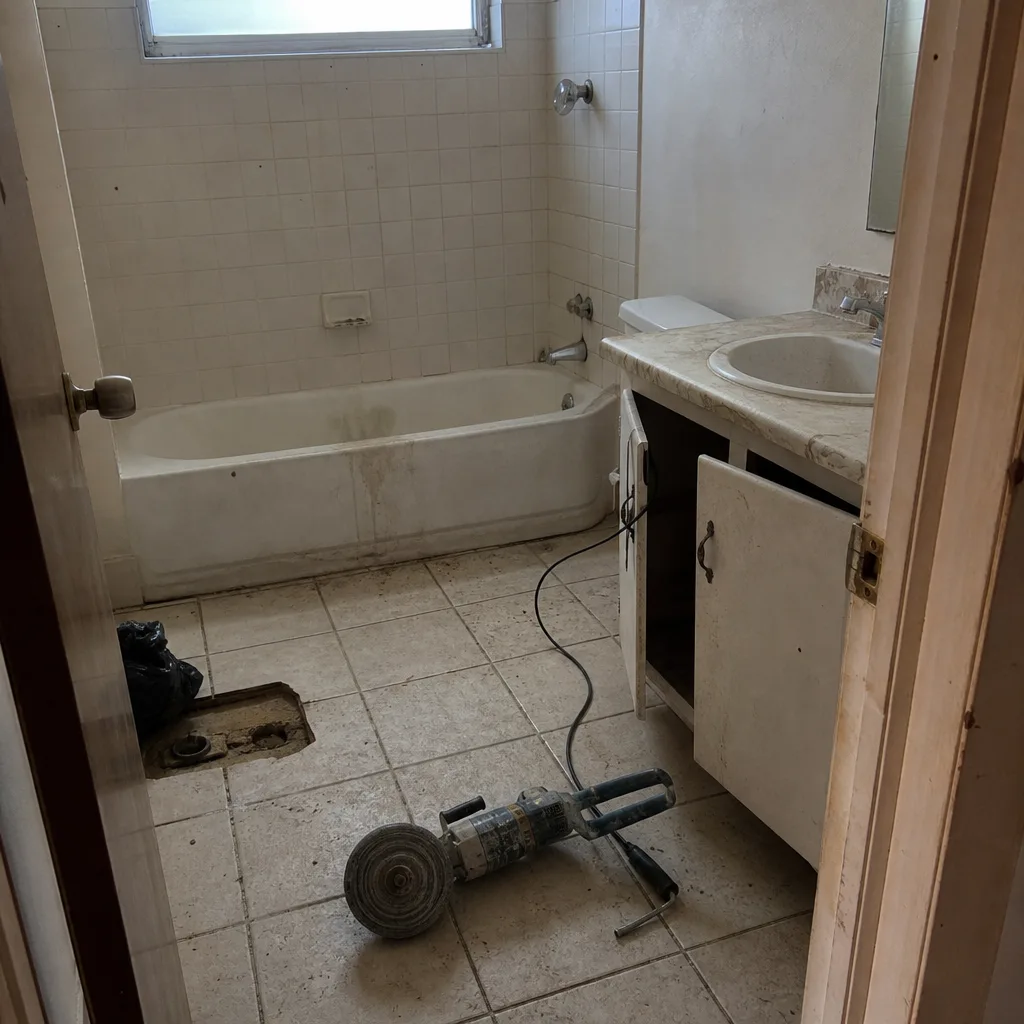 Before
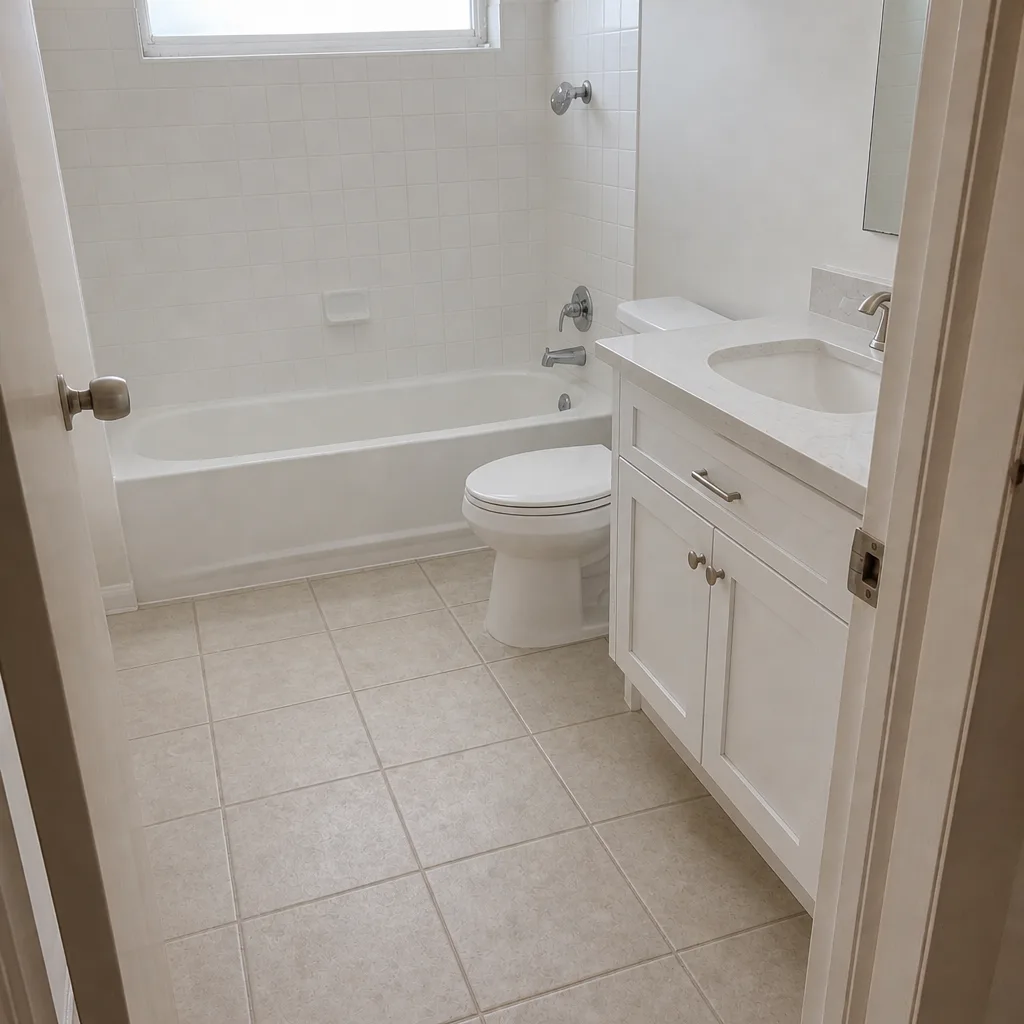 After
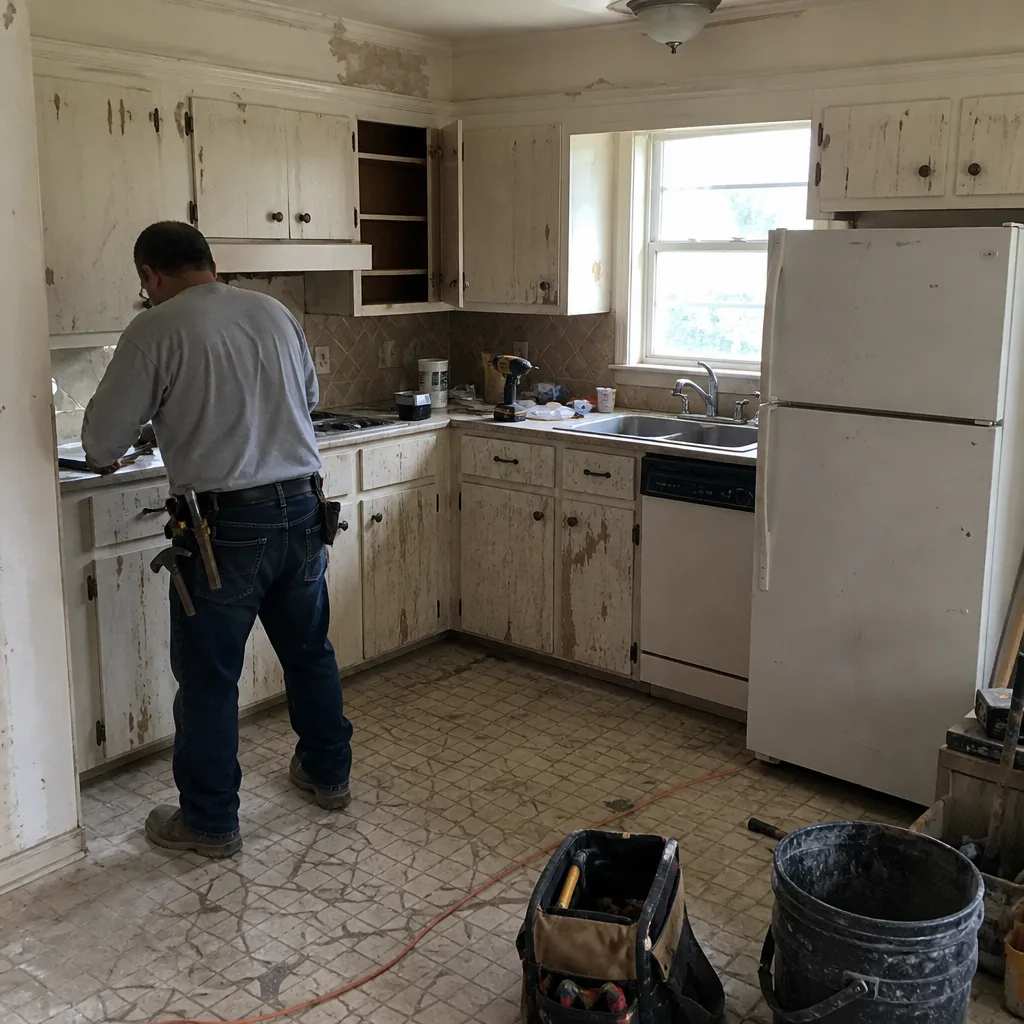 Before
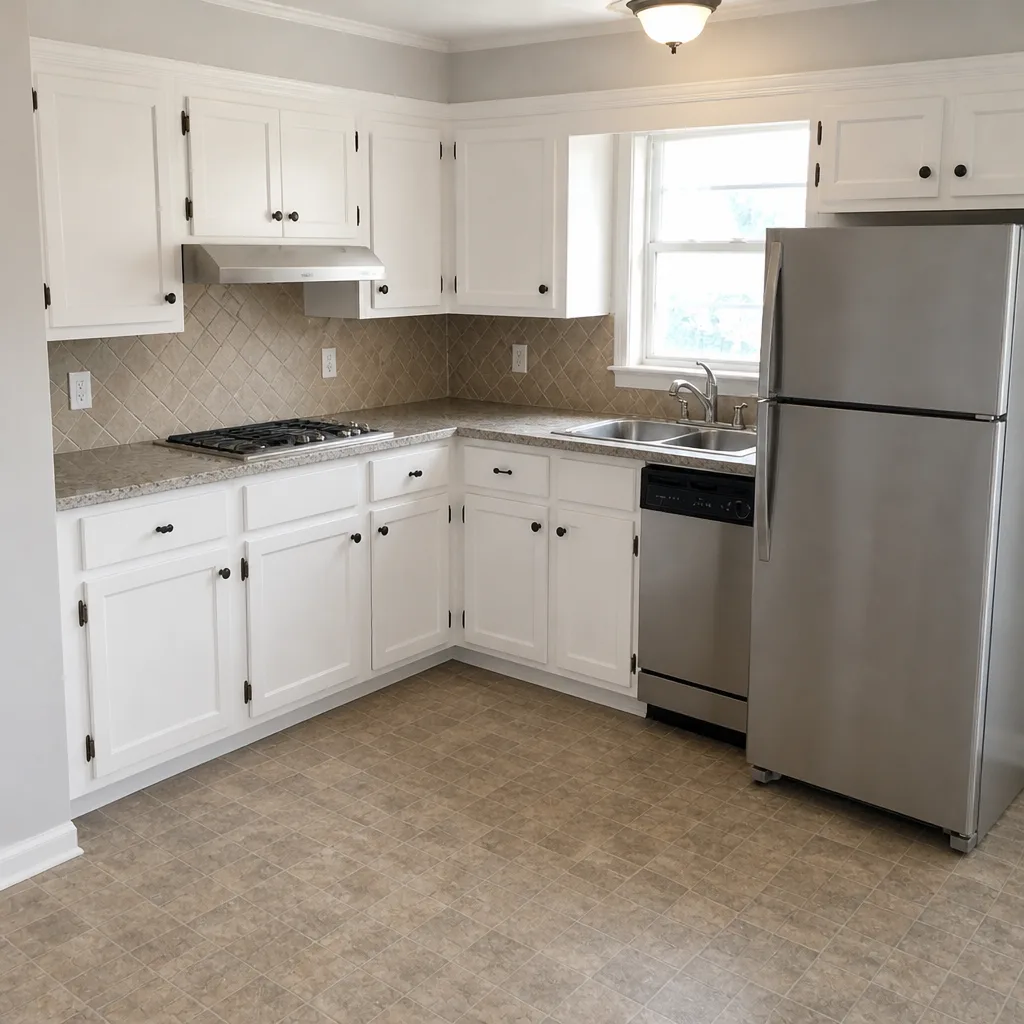 After
Frequently Asked Questions
Every three to five years with a proper polymeric sand, and sooner if you see washout after a storm. Hialeah’s June-through-October rain makes the wet season the real test; the joint sand that survives to March is the joint sand that was installed correctly.
Often, yes. Efflorescence on Hialeah pavers is usually a drainage signal – water moving through the base and carrying limestone minerals to the surface. Cleaning alone resets the clock for one season. If it returns in the same spot, the fix is under the pavers. Call (888) 836-5914 for a free estimate that evaluates the base, not just the surface.
Proactive joint re-sanding runs $1.50 to $2.50 per square foot. Drainage correction is typically $800 to $2,500. A full paver reset after base failure is $8 to $14 per square foot. The gap between re-sanding and resetting is the entire cost case for maintenance; call (888) 836-5914 to get a written quote for your actual square footage.
No. Sealing between May and October in Hialeah traps moisture in the pavers and clouds the finish. The dry season, November through April, is the only sensible sealing window here.
Yes, at high pressure. It strips the surface layer and forces water into joints, which worsens the very washout you’re trying to fix. Low-pressure cleaning with a pH-neutral paver cleaner, once or twice a year, is the safe routine.
Not without a signed change order. Every Rowan project is quoted with a flat written price and written scope before work begins, and no change proceeds until the change order is signed. That discipline is why our projects finish within a few percent of the agreed cost.
Where a permit is required – typically for a new driveway approach, widening, or work in the public right of way – the permit is part of the written scope. Call (888) 836-5914 and we’ll tell you exactly what your address needs before we quote.
Typically two to four days for a standard residential driveway, depending on square footage and whether the base needs correction. Base correction is the variable; a reset over sound base moves faster than one that has to re-grade. Call (888) 836-5914 for a written timeline with your estimate.
The Bottom Line
Hialeah pavers fail in a specific order: efflorescence from limestone leaching, joint sand washout during the rainy season, and UV fade across the long run. Handle them in that order and the drive lasts. Handle them out of order – sealing over efflorescence, sanding over a bad base – and you’re replacing a $600 re-sand with a $5,000 reset. The habit is a dry-season weekend and a five-minute walk each wet month. The record is photos and two measurements a year. Call (888) 836-5914 for a free estimate in Hialeah, and if you want the full picture on install, restoration, and material selection, the Rowan Construction Group Hialeah home page is the place to start.
Contact
Rowan Construction Group Hialeah writes the price before anyone picks up a tool. If your paver drive has a joint you’re watching, standing water you’ve been meaning to address, or a reset quote you’re not sure about, call (888) 836-5914 for a free estimate. You’ll get a flat written price, a written scope, a written warranty, and a documented photo record of what we found – and a live person answers the phone. Bring a competitor’s written estimate and we’ll review it line by line at no charge.
Written by the team at Rowan Construction Group Hialeah.