Last updated November 17, 2026


Free written scope consultation - allowances, timeline, and change-order rules on paper before a single trade is scheduled
Driveway & Pavers Troubleshooting: Common Problems and How to Fix Them
A single sunken paver at the center of a driveway and a row of sunken pavers along the edge are caused by two entirely different problems. Confuse them, and the repair fails before the polymeric sand even cures. In our experience across Hialeah, the surface a homeowner points at is rarely the actual fault. Cracking, rocking, and settling are usually evidence of what’s happening beneath the pavers, in the base and the edge restraint. This guide shows you how to read that pattern of failure so you know what you’re looking at before you spend a dollar on materials.
Quick Answer
Most driveway and paver problems that look like surface failures (cracking, sinking, shifting, loose sand) are actually base failures. Diagnose the base first by mapping the pattern of failure and pulling a single paver to check depth and moisture, then fix the cause before touching the surface. Replacing pavers without correcting the base means the same problem returns within two rainy seasons.
Styles & brands we work with
- Kitchen remodeling
- Bathroom remodeling
- Home additions & ADU
- Roofing
- Windows & doors
- Driveway & pavers
- Fence
Table of Contents
- Read the pattern before you spend a dollar
- Is it a surface problem or a base problem?
- The free diagnostic step: pull one paver
- Why polymeric sand fails in Hialeah humidity
- Efflorescence vs. mineral staining vs. biological growth
- Spot-fix vs. base repair: how to decide
- The correct repair sequence, step by step
- Common mistakes to avoid
- When to call a professional
Read the Pattern Before You Spend a Dollar
The location of the failure tells you the mechanism. A pavement doesn’t fail randomly. It fails where the base is weak, where water concentrates, or where the edge gives way. Before you buy sand or a bucket of leveling compound, stand back and note where the damage sits.
- One or two isolated pavers sunk near the center: almost always a localized base defect, often a compaction gap or a buried void. Sometimes a slow leak from an irrigation line or a failed PVC pipe beneath the driveway.
- A row of pavers sunk along the edge: edge creep. The edge restraint has lost its hold, and the pavers are migrating outward, letting the bedding sand escape.
- A ridge or hump running down the center: base heave, usually from water getting under the slab and pushing up, or from tree roots intruding.
- Widespread rocking and loose joints: the bedding layer has broken down across the whole field. This is not a spot-fix.
In Hialeah, we see edge creep constantly on driveways that border lawns watered by sprinklers. The constant moisture softens the soil behind the edge restraint, and the pavers creep outward a few millimeters a week until the joints open and sand drains away. Map the pattern, and the mechanism usually names itself.
Is It a Surface Problem or a Base Problem?
A surface problem lives in the top inch: the polymeric sand, the paver face, a stain. A base problem lives in the six inches below and shows up as movement. The distinction matters because surface repairs cost $50 to $200 in materials, and base repairs cost $800 to $3,500 depending on square footage. Getting the diagnosis wrong in either direction wastes money.
Here’s how to tell them apart in one pass:
- Walk the whole area barefoot or in soft shoes. Feel for rocking pavers. If a paver rocks, the base under it is compromised.
- Look at the joints. If the sand is intact but the pavers are uneven, the base moved. If the sand is gone but the pavers are flat, the sand failed.
- Check the edges. Any gap between the outer paver and the edge restraint means the restraint is failing.
- Look for a low spot that holds water after rain. Standing water on a paver driveway means the surface has lost its slope, which is a base issue.
Hialeah’s wet season, roughly May through October, exposes these weaknesses fast. A driveway that looks fine in February will show every base defect by August.
The Free Diagnostic Step: Pull One Paver
This is the step most homeowners skip and most installers never document. Pull a single paver from the damaged area and measure what’s underneath. It costs nothing but ten minutes and tells you more than any surface inspection.
- Use two flat pry bars or a stiff putty knife to lift one paver without cracking it. Work slowly, from two sides.
- Measure the bedding sand depth. Proper depth is 1 inch, plus or minus a quarter inch. If you find 2 or 3 inches of loose sand, that’s a compaction failure and the source of the movement.
- Feel the base material. It should be a compacted, well-graded aggregate that holds its shape. If it crumbles, is muddy, or feels spongy, the base has lost structural integrity.
- Check moisture. Squeeze a handful of base material. If water runs out, you have a drainage or leak problem, not just a compaction problem.
- Look for a void beneath the paver. A hollow pocket under a single paver points to a buried leak or a washout that needs to be traced.
At Rowan Construction Group, every visit includes a documented photo record as a standard deliverable, and this diagnostic step is exactly what that record captures: the depth, the moisture, the condition of the substrate. Under Clause 1 of the Haven Standard, we photograph what we found and put the explanation in writing before any repair price is agreed.
Why Polymeric Sand Fails in Hialeah Humidity
Homeowners blame the product. The product is usually fine. Polymeric sand failures in South Florida are frequently a cure problem, not a defect. Polymeric sand sets by absorbing a limited amount of water and curing into a flexible, semi-solid joint. Manufacturers like Techniseal specify an installation window: low humidity, no rain for 24 hours before, and no rain for 24 hours after activation. In Hialeah, where humidity can sit above 80 percent for days and afternoon thunderstorms arrive without much warning, meeting that window takes planning.
When installers skip the window, one of three things happens:
- Over-wetting: the sand absorbs too much water and the polymer washes to the surface, leaving a hazy residue and a weak joint.
- Under-wetting: the polymer never fully activates, and the first heavy rain dissolves the joint back into loose sand.
- Premature rain: a storm hits before the polymer sets and carries the sand out of the joints entirely.
The fix is scheduling, not chemistry. Sand installed in a dry window on the Wednesday between storms holds for years. Sand installed on a humid Friday in July often fails by September. If you’re re-sanding, check the forecast for a 48-hour dry window and confirm the base under the joints is dry before installation.
Efflorescence vs. Mineral Staining vs. Biological Growth
Three different white or dark stains show up on pavers, and each one requires a different cleaning chemistry. Use the wrong one and you’ll etch the paver face permanently. Identify before you treat.
- Efflorescence is a white, powdery, salty bloom that appears on the surface of concrete pavers. It’s mineral salts migrating from the base or paver core to the surface as moisture moves through. It wipes away with a dry brush and reappears. Treat it with a dedicated efflorescence cleaner and dry-brush first; never start with bleach, which sets the salt back into the surface.
- Mineral staining is a rust-orange or brown discoloration, usually from iron in the base or a nearby sprinkler head. It doesn’t brush off. Treat it with a targeted rust remover, not a general acid wash.
- Biological growth is green, black, or grey, and it feels slimy. It’s algae, mold, or mildew growing in the shaded, damp joints. This one responds to a mild bleach or oxygen-based cleaner, not acid, which feeds the organic growth and can discolor the paver.
The chemistry is not interchangeable. Acid on biological stain makes it worse. Bleach on efflorescence makes it worse. A little patience identifying the stain saves you a resurfacing job. In Hialeah, biological growth is the most common by a wide margin, especially on north-facing driveways shaded by ficus and mango trees.
Spot-Fix vs. Base Repair: How to Decide
Replacing seven pavers over a failing base masks a condition that will resurface within a 10-foot radius inside 18 months. We’ve pulled up “repaired” sections in Hialeah where the pavers were new and the base under them was still the same uncompacted fill. The fix looked done. It wasn’t.
Use this rule of thumb:
- Spot-fix is valid when one or two pavers have moved but the surrounding base is compacted, dry, and level on the diagnostic pull. This is a genuine repair.
- Base repair is required when three or more adjacent pavers show movement, when the pulled paver reveals loose or wet base, when the edge restraint has failed along a run longer than a few feet, or when a stuck rock or void is found under a section. In these cases, remove and rebuild the base, compact in lifts no deeper than 4 inches, and reinstall.
- Full-field rebuild is required when the movement spans more than 25 percent of the driveway, when the surface has lost its slope, or when the base was never compacted properly from the start.
Effective paver repair is diagnosis first. Materials come after. A flat written price before work starts, with the scope of the base repair named in dollars, is how you confirm you’re paying for the real fix and not seven fresh pavers over the same problem.
The Correct Repair Sequence, Step by Step
Once you’ve diagnosed the cause, the repair sequence is uniform. Skipping a step is why repairs fail.
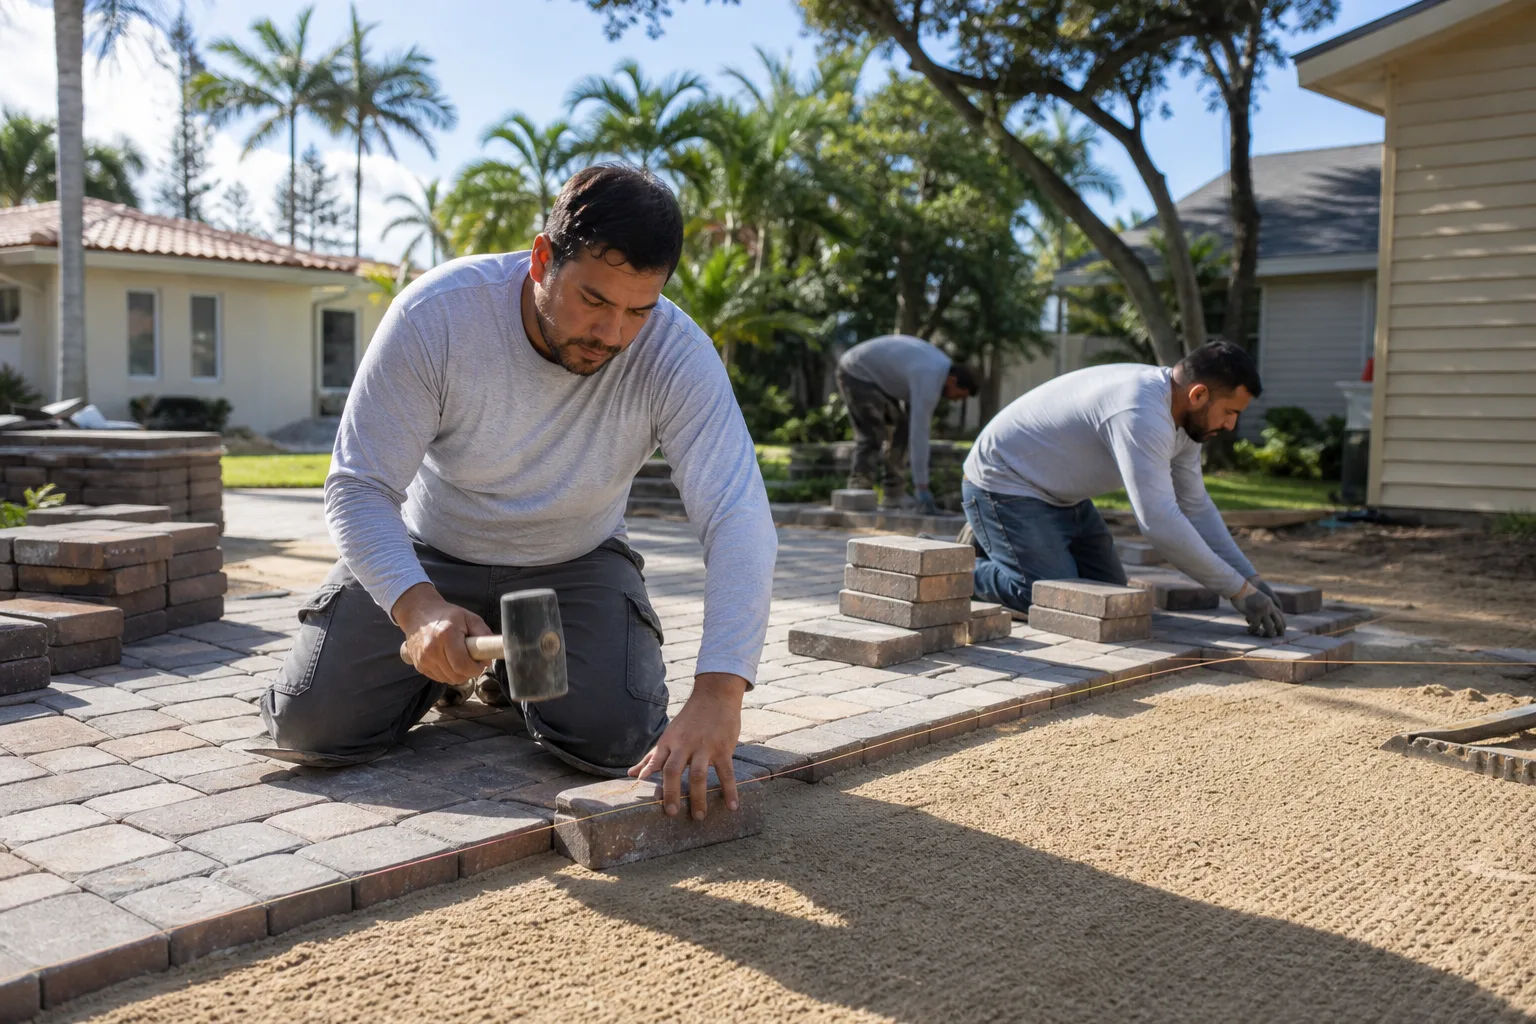
- Cut the edge clean. Remove the broken pavers and any sand in the affected area. Take the removal out to a full paver course on each side of the damage. Partial paver removal leaves irregular edges that don’t re-lock.
- Remove the bedding sand and the top 4 inches of base in the affected zone. This is the part most spot repairs skip and the reason they fail.
- Address the root cause. Repair the irrigation leak, remove the intruding root, re-set the edge restraint in fresh concrete, or correct drainage away from the field.
- Rebuild the base in lifts. Compact in lifts no deeper than 4 inches using a plate compactor, not a hand tamper, on aggregate base meeting the manufacturer’s spec.
- Reinstall the bedding layer at 1 inch and screed it flat.
- Re-set the pavers and compact them into the bedding. Check the joint width against the surrounding field.
- Install polymeric sand in a confirmed dry window. Low humidity, no rain 24 hours prior, no rain 24 hours after.
- Re-examine the edge restraint. If the whole driveway has been creeping, re-anchor the restraint along the full run before re-sanding.
This sequence takes a professional crew a half day for a small section and one to two days for a full field. Spot-fixes without the base step take an hour and usually cost more in the long run.
Common Mistakes to Avoid
- Replacing pavers without checking the base. Fresh pavers over a wet or uncompacted base will settle within a season. Pull one paver first. Always.
- Topping off a sunken area with leveling sand. This fills the joint space, not the void, and the movement returns the first time it rains.
- Installing polymeric sand on a humid day. In Hialeah, that window is often only a few hours. Wait for the right one rather than installing on a bad one.
- Pressure-washing at full blast before re-sanding. High pressure strips the joint sand, opens the aggregate, and leaves the pavers clean but unstable. Use a moderate pressure and a wide fan tip.
- Using muriatic acid as a universal cleaner. It removes cement haze and efflorescence, but it etches biological stains darker and kills nothing. Match the chemistry to the stain.
- Ignoring edge creep until the pavers separate. A two-inch gap at the edge restraint costs a fraction of the full field rebuild that follows.
- Assuming a permit isn’t needed because it’s “just pavers.” In Hialeah, driveway aprons that touch the public right-of-way and any excavation over utility lines carry permit requirements. Ask before you dig.
When to Call a Professional
Call a professional when: the failure spans three or more adjacent pavers; the pulled base is wet or loosely compacted; you find a void, a buried leak, or a root intrusion; the edge restraint has failed along a run; or the driveway has lost its slope to standing water. Any of these is a base repair and needs compaction equipment, base aggregate matched to spec, and a written scope before work starts.
Rowan Construction Group Hialeah offers free estimates in Hialeah. Our technicians have up to 19 years of experience, every repair carries a flat written price with a written scope before any work starts, and we back every job with the 365-Day Done Right Promise. We also offer a Free Second Opinion on any written estimate you’ve received. Call (888) 836-5914 to schedule.
See the difference
 Before
 After
 Before
 After
 Before
 After
Frequently Asked Questions
Most sinking in Hialeah comes from a base failure, not the pavers. Three common causes: compaction that was never done in proper lifts during installation, water washing out the base from a sprinkler leak or poor drainage, and edge restraint failure that lets bedding sand escape. Pull a single paver and check the base depth and moisture before spending on materials. Call (888) 836-5914 for a free estimate if the base is wet or loose.
Spot repairs on one to three pavers typically run $200 to $600. A base repair on a section of driveway usually runs $800 to $2,500. A full-field rebuild of a two-car driveway typically runs $4,000 to $9,000 depending on square footage and base conditions. The range is wide because the base diagnosis drives the price. Rowan Construction Group provides a flat written price before any work starts. Call (888) 836-5914 for an exact quote, free of charge.
Polymeric sand failures in South Florida are usually a cure problem, not a product defect. Manufacturers like Techniseal require low humidity and no rain for 24 hours before and after installation. In Hialeah’s summer weather, that window is narrow and installers often skip it. Check the forecast, dry the joints, and install in a confirmed dry window. If your sand is failing twice a year, call (888) 836-5914 for a free estimate to re-sand correctly.
Identify first. Efflorescence is a powdery white bloom that brushes off and returns. Use a dedicated efflorescence cleaner and dry-brushing, not bleach, which sets the salts into the surface. For mineral staining (rust-orange), use a rust remover. For biological growth (green, slimy), use a mild bleach or oxygen-based cleaner, not acid. Matching the chemistry to the stain prevents permanent etching. Call (888) 836-5914 for a free estimate on a full cleaning and re-sanding job.
One or two isolated pavers with dry, compacted base around them can be repaired by a careful homeowner. Any movement spanning three or more adjacent pavers, any wet or loose base under the pulled paver, and any edge-restraint failure need a professional crew with compaction equipment. Replacing pavers over a failing base masks the problem and the same failure returns within 18 months. Call (888) 836-5914 for a free estimate if you’re unsure which category you’re in.
Some do. Driveway aprons that meet the public right-of-way, and any excavation that crosses utility lines, typically require a permit in Hialeah. Straightforward re-sanding or a spot repair of a few interior pavers usually does not. Confirm before you dig. Rowan Construction Group pulls permits when the scope calls for them and puts that line into the written scope before work starts. Call (888) 836-5914 for a free estimate that names what’s covered.
The Bottom Line
Nearly every paver problem that looks like a surface failure traces back to the base, the edge restraint, or the water around it. Map the failure pattern before you buy materials. Pull one paver and measure the base depth and moisture. Match your cleaning chemistry to the stain. Install polymeric sand in a confirmed dry window. And when the failure spans more than a couple of pavers, or the base under them is compromised, fix the cause rather than the symptom. Diagnose first, price in writing, repair once. That’s how a Hialeah driveway stays flat through a decade of wet seasons.
Ready for a Written Price Before Any Work Starts?

Rowan Construction Group Hialeah brings seven trades to every residential project, and driveway and paver work is no exception. Every job is quoted with a flat written price and a written scope before work starts. Background-checked, uniformed technicians. A documented photo record on every visit. The 365-Day Done Right Promise. A Free Second Opinion on any written estimate you already have. Call (888) 836-5914 for your free estimate, or explore our Driveway & Pavers in Hialeah service page for the full scope of what we do.
Written by the team at Rowan Construction Group Hialeah.