Last updated November 16, 2026







Free written scope consultation - allowances, timeline, and change-order rules on paper before a single trade is scheduled
Bathroom Remodeling Maintenance Schedule: What to Do and When
Most homeowners treat a finished bathroom like a finished product. It isn’t. It’s a system of seals, membranes, and moving parts that starts aging the day the last tile is set, and the clock runs faster in Hialeah than in most of the country. Miami-Dade tap water runs hard, somewhere in the range of 150 – 200 mg/L, and that calcium load begins eating grout sealant and clogging aerator screens inside six months. Meanwhile, the indoor humidity that Hialeah lives with most of the year pushes caulk at tub-to-tile joints toward delamination far sooner than the two-year timeline in most national guides. This guide gives you a dated calendar for the first year after a remodel, task by task and surface by surface, with pass/fail criteria so you know when a line has actually failed.
Quick Answer
A bathroom remodel needs four maintenance rhythms: seal grout annually and re-caulk tub and shower joints every 12 months, or every 9 in Hialeah’s humidity; clean the exhaust fan grill monthly and check its airflow every quarter; exercise the supply valves twice a year; and inspect the toilet’s wax ring and floor seal at month 12. Skip these and you can void parts of manufacturer warranties on products like Kohler fixtures and Schluter tile edging.
Styles & brands we work with
- Kitchen remodeling
- Bathroom remodeling
- Home additions & ADU
- Roofing
- Windows & doors
- Driveway & pavers
- Fence
Table of Contents
- Why a Hialeah Bathroom Ages Faster Than the Guidebooks Say
- The First 30 Days: What to Check and What to Leave Alone
- Month-by-Month Task List for the First Year
- Grout vs. Caulk: Two Different Maintenance Cycles
- The Re-Caulk Interval That Prevents Water Behind the Wall
- Exhaust Fan and Humidity Control
- Maintenance That Keeps Your Warranties Valid
- The Annual Checklist, With Pass/Fail Criteria
Why a Hialeah Bathroom Ages Faster Than the Guidebooks Say
Two local conditions set the pace. The first is water chemistry. Hard water leaves mineral deposits that bond to grout lines and glass, and over time those deposits abrade the sealant layer that keeps water out of the porous grout body. Once the sealer is compromised, grout in a shower pan absorbs moisture and stays damp, because the humidity in Hialeah means it doesn’t dry out between showers the way it would in a drier climate.
The second is airborne moisture. Most Hialeah homes run air conditioning nearly year-round, which keeps ambient indoor humidity lower than the outdoors, but bathrooms are the exception: a hot shower in a closed room with an undersized or dirty exhaust fan can hold relative humidity above 70% for an hour afterward. That’s the window where caulk at the tub-to-tile joint starts to peel at the edges.
In our work across Hialeah, we’ve seen shower corners that failed at 11 months, not the 24 months a national checklist predicts, because the homeowner had a fan running at half its rated airflow and grout that had lost its sealer by month 8. The maintenance schedule below is built for those conditions, not for a dry-climate average. If you’re planning a remodel and haven’t broken ground yet, our Rowan Construction Group Hialeah home page outlines the trades we handle and how we document each one.
The First 30 Days: What to Check and What to Leave Alone
The first month is mostly observation. Fresh caulk and grout need time to cure fully, and poking at them too early is a common way to create the problem you’re trying to prevent. Here’s what to actually do in the first 30 days.
- Run the exhaust fan for 20 minutes after every shower. This isn’t a maintenance task so much as a habit, but it sets the baseline for everything else. Note whether the mirror clears within 5 minutes; if it doesn’t, the fan is undersized or blocked.
- Wipe standing water off the shower floor and tub ledge after use. A squeegee takes 15 seconds. It removes the water that would otherwise sit against the caulk line overnight.
- Check for loose tile by tapping with a plastic-handled screwdriver. A hollow sound on any tile means the thinset didn’t bond. Report it to your contractor under warranty before the 30-day mark if you can.
- Confirm the supply valves under the sink operate. Turn each one a quarter-turn and back. If either is stuck, get it replaced now rather than during an emergency.
- Don’t seal new grout yet. Most grout manufacturers want a minimum cure window before sealer goes on, and applying it early traps moisture. Check the bag or spec sheet for the exact number of days.
The observation window matters because many failures in the first month are installation issues, not maintenance issues. A toilet that rocks, a shower that drains slowly, a caulk line that’s already pulling at a corner, those are warranty items, and catching them in the first 30 days is far cheaper than catching them at month 12. If you’re still in the planning phase, a Home Additions & ADU in Hialeah project often includes a bathroom scope, and the same documentation discipline applies.
Month-by-Month Task List for the First Year
This is the calendar. It assumes a standard remodel with a tiled shower or tub surround, a vanity, and a toilet. Adjust if your bathroom has a freestanding tub or a steam shower, both of which need more frequent attention at the joints.
- Month 1: Observation only. Wipe water, run the fan, tap tiles. No sealer, no scrubbing.
- Month 2: Seal grout on the shower floor and walls if the manufacturer’s cure window has passed. Usually 7 – 14 days after grouting, so by month 2 you’re safe.
- Month 3: Clean the exhaust fan grill and check the fan’s airflow against the mirror test. Replace the filter if your model has one.
- Month 4: Inspect caulk at the tub-to-tile joint and the vanity backsplash. Look for any gap at the edges, not just the center. Re-caulk any joint that’s started to separate.
- Month 5: Remove and clean the faucet aerator screens. Hard water in Hialeah clogs these faster than most guides suggest; soak them in white vinegar for 20 minutes and rinse.
- Month 6: Exercise the supply valves under the sink and behind the toilet. Quarter-turn open and closed. Check for any weeping at the packing nut.
- Month 7: Re-seal grout on the shower floor if it looks dull or absorbs water. A drop of water should bead on a sealed surface; if it darkens and spreads, the sealer is gone.
- Month 8: Check the toilet base for rocking and the floor seal for any darkening. A rocking toilet stresses the wax ring and can leak into the subfloor.
- Month 9: Inspect all caulk joints again. In Hialeah, this is the month the humidity has done the most work on the tub-to-tile line.
- Month 10: Clean the shower door tracks and check the door sweep or seal for wear. Replace the sweep if it’s no longer touching the curb.
- Month 11: Re-caulk any joint that failed the month 9 inspection, if you haven’t already. Don’t wait for month 12.
- Month 12: Full annual inspection with pass/fail criteria (see the checklist below). This is also the month to re-seal grout on all surfaces.
Grout vs. Caulk: Two Different Maintenance Cycles
Confusing grout and caulk maintenance is the single most common homeowner error we see, and it causes real damage. They’re different materials with different jobs and different schedules.
Grout fills the joints between tiles. It’s cementitious, porous, and rigid. Its job is to support the tile edges and keep debris out of the joint. It’s protected by sealer, and the sealer is what needs annual renewal. Sanded grout, used on floor tiles and wider joints, has a rougher surface and holds sealer slightly differently than unsanded grout, which is used on wall tiles and narrow joints. Both need re-sealing roughly once a year in Hialeah.
Caulk fills the movement joints, the places where two different materials meet: tub to tile, vanity to wall, shower pan to curb. These joints move with temperature and settling, so they need a flexible material. That’s why caulk is the right choice there and grout is not. Silicone caulk lasts longer and resists mold better but can’t be painted and is harder to remove. Acrylic caulk is easier to work with but fails faster in a wet environment.
The error is treating a movement joint with grout, or treating a grout line with caulk. Grout in a tub-to-tile joint will crack within months because the tub moves. Caulk in a tile field will look dirty and peel because it can’t handle the abrasion. When we re-caulk a joint in a Hialeah bathroom, we use 100% silicone in wet areas, and we tell homeowners to expect roughly a 12-month service life, or about 9 months in a bathroom with heavy daily use.
The Re-Caulk Interval That Prevents Water Behind the Wall
In Hialeah’s humidity, the tub-to-tile caulk joint is the most vulnerable line in the bathroom, and the one most likely to let water behind the wall if it’s ignored. Here’s the interval that prevents that.
- Inspect every 3 months. Run a fingertip along the joint. A gap you can feel is a gap that’s already letting water in.
- Re-caulk every 9 – 12 months. Plan on 9 months in a bathroom used by more than two people daily, 12 months otherwise. In a dry climate you’d get 18 – 24 months; Hialeah doesn’t allow that.
- Remove the old caulk fully before applying new. Caulk over caulk fails at the bond line. Use a plastic scraper and a caulk-removal tool, not a metal blade that can scratch the tile or tub.
- Clean and dry the joint completely. Silicone won’t bond to a damp surface. Give it at least 24 hours of drying time after cleaning.
- Fill the tub with water before caulking the tub-to-tile joint. The weight pulls the tub down to its loaded position, so the caulk cures at the right gap width. This one step prevents the joint from tearing open the first time someone fills the tub.
- Let it cure 24 – 48 hours before the first shower. Check the tube for the exact cure time; it varies by product.
If you see dark staining behind the caulk line, soft drywall around the tub, or a musty smell that doesn’t clear after cleaning, the water has already gotten behind the wall. That’s a job for a professional, not a tube of caulk. Our Fence Installation in Hialeah crews see the same pattern outdoors with post bases and rail joints, and the fix is always the same: address the seal before it becomes a structural repair.
Exhaust Fan and Humidity Control
The exhaust fan is the least glamorous part of the bathroom and the one that does the most to extend the life of everything else. In Hialeah, where outdoor humidity is high most of the year, the fan is what keeps the bathroom from becoming a terrarium.
- Clean the grill monthly. Dust and lint on the grill cut airflow significantly. A vacuum attachment or a damp cloth takes two minutes.
- Check airflow quarterly. Hold a tissue against the grill with the fan running. It should be pulled tight. If it flutters or falls, the fan is underperforming.
- Listen for bearing noise. A grinding or rattling fan is on its way out. Replace it before it fails, not after.
- Run the fan for 20 minutes after every shower. Not 5. The goal is to clear the moisture, not just the visible steam.
- Check the exterior vent quarterly. The vent flap on the outside of the house should open freely and close. A stuck flap lets humid air, insects, and in Hialeah, the occasional lizard, back into the duct.
A fan that’s undersized for the bathroom’s cubic footage will never do the job no matter how often you run it. The general rule is 1 CFM per square foot of bathroom floor area, with a minimum of 50 CFM for a standard bathroom. If your fan is quieter than a conversation and the mirror still fogs, it’s undersized.
Maintenance That Keeps Your Warranties Valid
Manufacturer warranties on bathroom products are conditional, and skipped maintenance is one of the most common grounds for a denied claim. Kohler fixtures, for example, carry finish and function warranties that assume normal use and proper cleaning; abrasive cleaners and neglected aerators are both cited in denial letters. Schluter tile edging and waterproofing membranes carry warranties that assume the tile assembly is maintained, including sealed grout and intact caulk joints.
What this means in practice:
- Keep your receipts and product documentation. A warranty claim without proof of purchase is a hard no from most manufacturers.
- Use the cleaner the manufacturer specifies. Kohler publishes a list of approved cleaners; abrasive powders and bleach-heavy products can void a finish claim.
- Re-seal grout on schedule. Schluter’s membrane warranty assumes the assembly stays watertight, and unsealed grout in a shower is a pathway for water to reach the membrane.
- Re-caulk on schedule. A failed caulk joint lets water behind the tile, which is exactly the condition the warranty is designed to exclude.
- Document your maintenance. A dated note or a photo of each re-caulk and re-seal is cheap insurance if you ever need to file a claim.
None of this is complicated, but it has to be done. Our Driveway & Pavers in Hialeah clients hear the same message about sealing pavers: the product is only as good as the maintenance calendar behind it.
The Annual Checklist, With Pass/Fail Criteria
Vague descriptors like “check condition” don’t help anyone. This checklist gives you a clear pass or fail for each item, so you know when to act.
- Shower grout sealer: PASS if a drop of water beads on the surface. FAIL if the water darkens the grout and spreads.
- Tub-to-tile caulk: PASS if the joint is continuous with no gap at either end. FAIL if you can feel any gap with a fingertip.
- Vanity backsplash caulk: PASS if the joint is flush and flexible. FAIL if it’s cracked, peeling, or hard to the touch.
- Exhaust fan airflow: PASS if a tissue is pulled tight against the grill. FAIL if it flutters or falls.
- Supply valves: PASS if each operates a quarter-turn without resistance and doesn’t weep. FAIL if stuck or leaking.
- Toilet base: PASS if it’s solid with no rocking and the floor seal is intact. FAIL if it rocks or the floor around it darkens.
- Shower door sweep: PASS if it touches the curb along its full length. FAIL if there’s a visible gap or water escapes.
- Faucet aerators: PASS if water flows evenly from all openings. FAIL if flow is uneven or reduced.
- Drain speed: PASS if the shower drains fully within 2 minutes of turning off the water. FAIL if standing water remains.
- Mold or staining: PASS if surfaces are clean after routine cleaning. FAIL if staining returns within a week or a musty smell persists.
Print this list or keep it in a notes app. The point isn’t perfection. It’s catching the one or two items that fail before they turn into a repair that costs more than the whole year’s maintenance.
Common Mistakes to Avoid
- Caulking over old caulk. The new bead bonds to the old one, not to the tile, and it fails within weeks. Remove the old caulk fully first.
- Using grout where caulk belongs. A rigid material in a movement joint will crack. Tub-to-tile and vanity-to-wall joints need flexible caulk, not grout.
- Sealing new grout too early. Sealer applied before the grout cures traps moisture and can cause a haze that’s hard to remove. Check the manufacturer’s cure window.
- Ignoring the exhaust fan. A dirty or undersized fan is the most common reason caulk fails early in Hialeah. Clean it monthly and check airflow quarterly.
- Using abrasive cleaners on Kohler or similarly finished fixtures. Abrasives scratch the finish and can void the warranty. Use the manufacturer’s approved cleaner list.
- Waiting for a leak to re-caulk. By the time you see water on the floor, it’s already been behind the wall for weeks. Re-caulk on the 9 – 12 month schedule whether it looks bad or not.
- Skipping maintenance because the bathroom is new. New construction ages the same as old construction. The clock starts at handover, not at year 5.
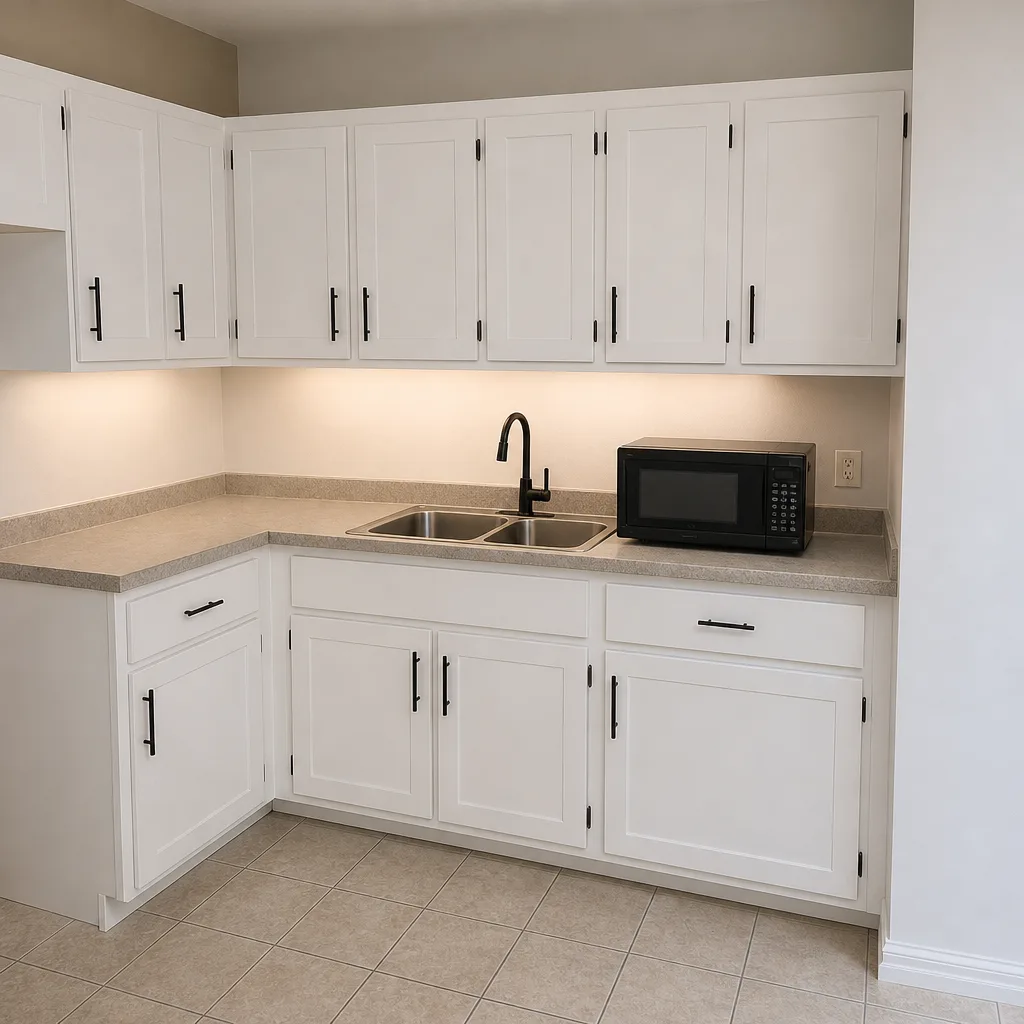
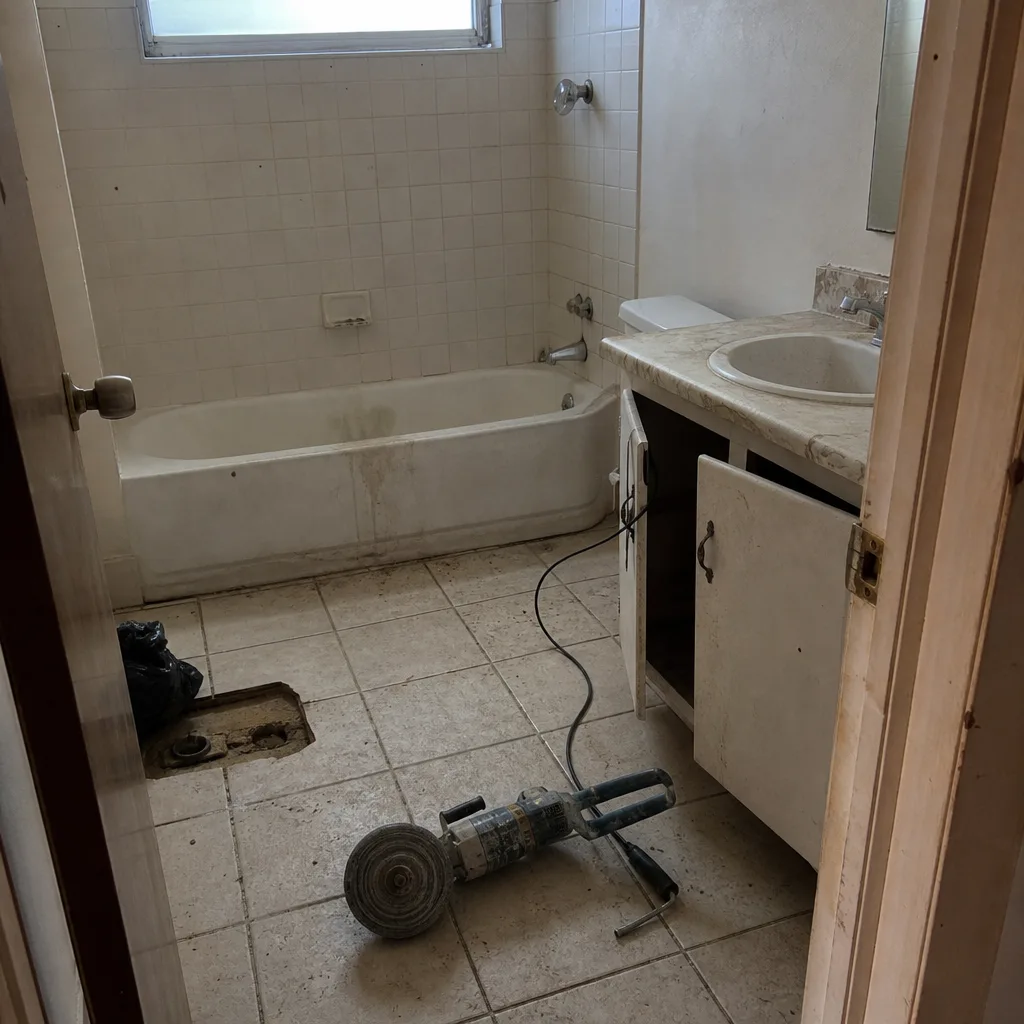
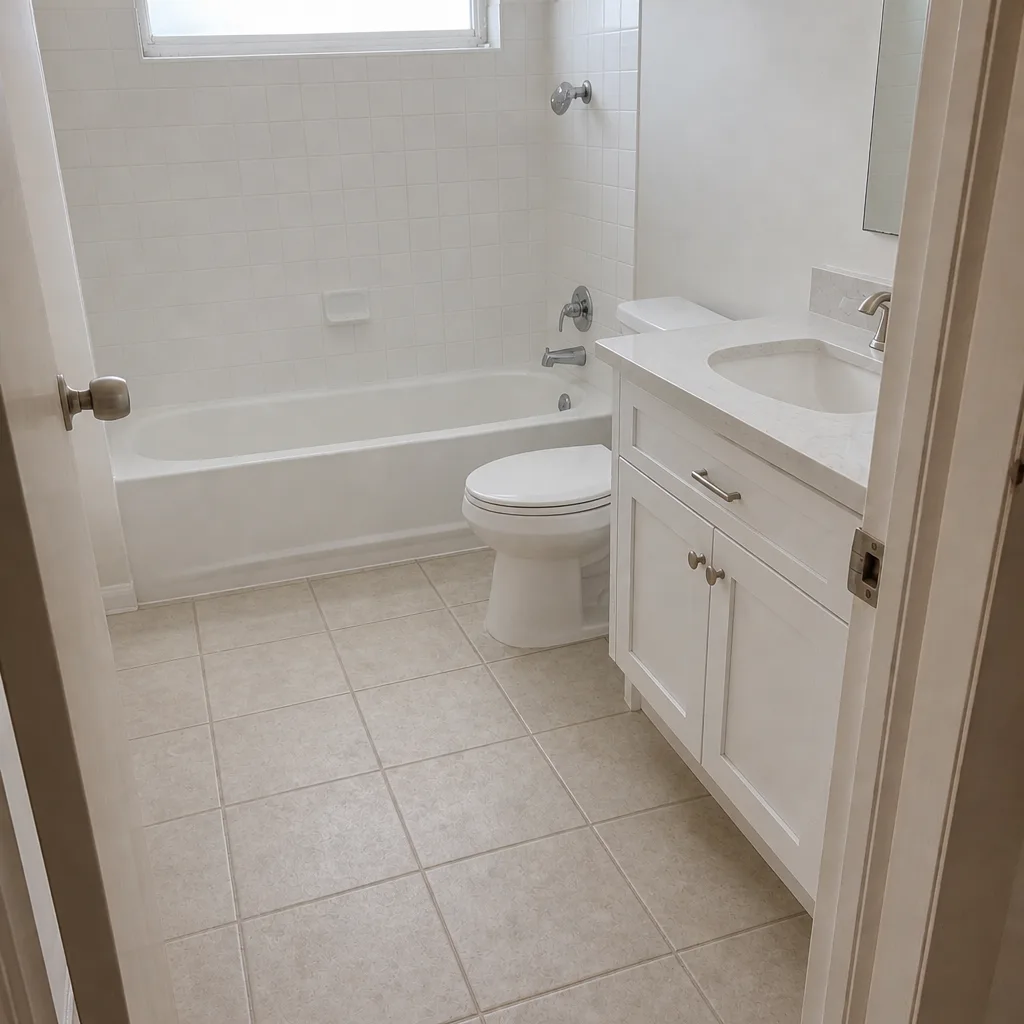
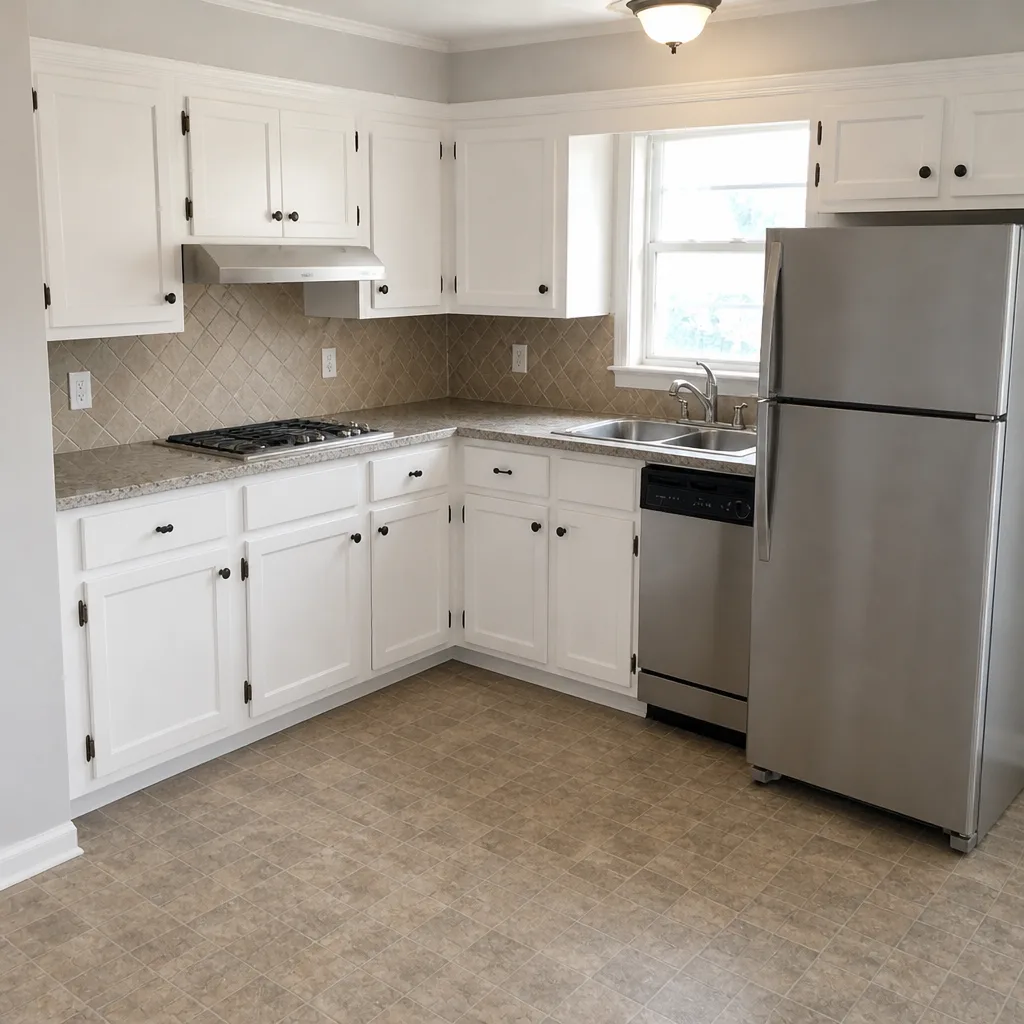
See the difference
 Before
 After
 Before
 After
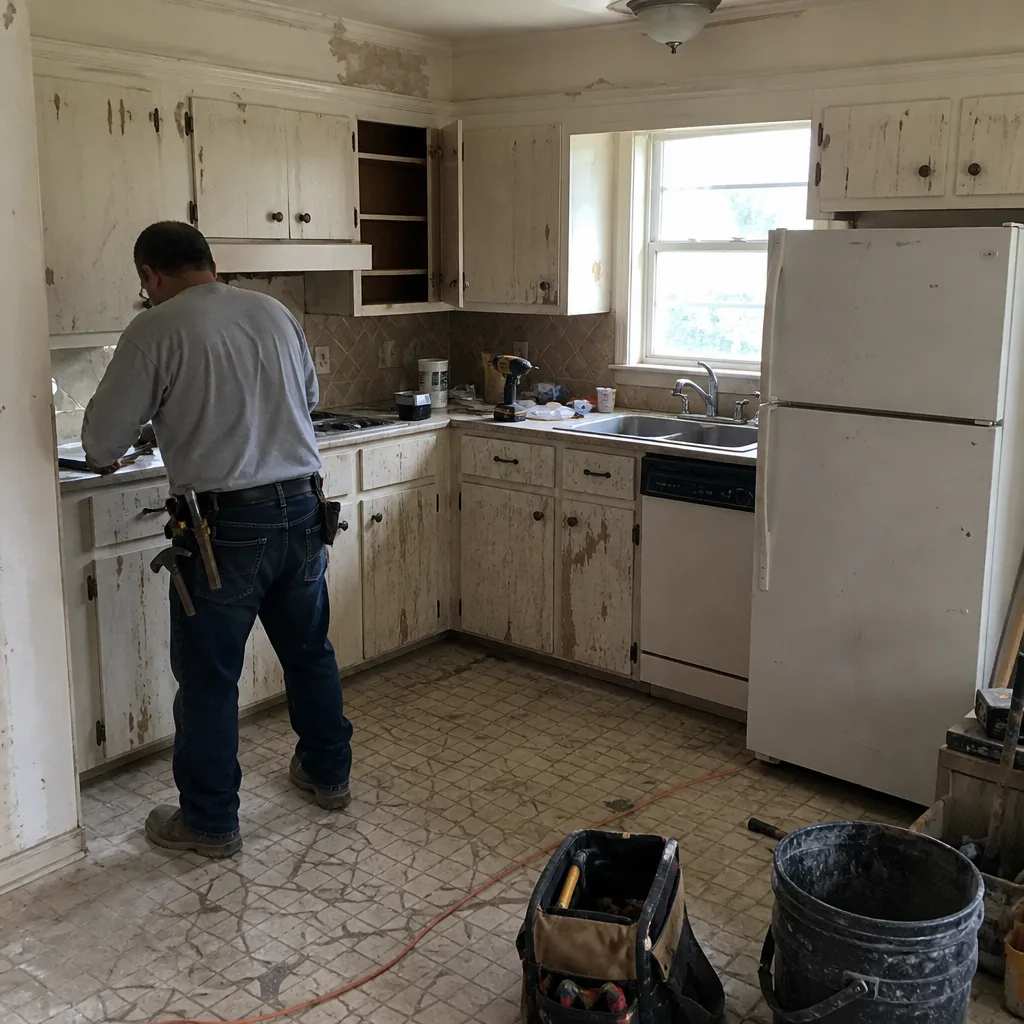 Before
 After
When to Call a Professional
Most of the schedule above is homeowner work. Some of it isn’t. Call a professional if you find soft or dark drywall around the tub or shower, a toilet that rocks and won’t tighten, a shower pan that holds water for more than a few minutes, or mold that returns within a week of cleaning. Those are signs the waterproofing layer or the drain assembly has failed, and caulk won’t fix either one. If your bathroom is older and the maintenance list is turning up multiple failures at once, it may be time to look at a full remodel rather than a repair. Rowan Construction Group Hialeah offers free estimates in Hialeah. Call (888) 836-5914 to schedule yours.
Frequently Asked Questions
Every 9 – 12 months, with 9 months being the safer interval in a Hialeah bathroom used daily by two or more people. The humidity here causes caulk at the tub-to-tile joint to delaminate faster than in drier climates, so the national 18 – 24 month guideline doesn’t apply. Inspect the joint every 3 months and re-caulk at the first sign of a gap.
Yes, within about six months. Miami-Dade water runs 150 – 200 mg/L hardness, and that mineral load begins degrading grout sealer and clogging aerator screens faster than most maintenance guides assume. Cleaning aerators every 5 months and re-sealing grout annually keeps it in check.
It can. Kohler’s finish warranties assume approved cleaners and proper care, and Schluter’s membrane warranties assume a watertight tile assembly, which means sealed grout and intact caulk. Keep your receipts and document your maintenance, and the warranty claim process is straightforward.
Silicone caulk is a flexible material for movement joints (tub-to-tile, vanity-to-wall) and needs replacing every 9 – 12 months. Sanded grout is a rigid filler for tile joints and needs re-sealing annually. Using one where the other belongs is the most common homeowner error.
Look for soft or discolored drywall around the tub, a musty smell that returns after cleaning, or caulk that peels repeatedly in the same spot. Any of these means water is already behind the wall and needs a professional assessment, not another tube of caulk.
Re-caulking a single joint runs $150 – $350 in the Hialeah market, depending on access and whether old caulk needs full removal. If water has reached the substrate, expect $800 – $2,500 for drywall and waterproofing repair, which is why the 9-month interval matters. Call (888) 836-5914 for a free estimate on any repair or remodel.
The Bottom Line
A bathroom remodel’s lifespan comes down to what happens after the crew leaves, and in Hialeah that means a faster calendar than the national guides assume. Hard water at 150 – 200 mg/L attacks sealer and aerators within six months. Humidity drives caulk at the tub-to-tile joint to fail in 9 months, not 24. Keep the four rhythms: seal grout annually, re-caulk wet joints every 9 – 12 months, clean the exhaust fan monthly, exercise the supply valves twice a year. Use the pass/fail checklist to catch failures early, and keep your receipts so your Kohler and Schluter warranties stay valid. If you’re planning a remodel or a repair, call (888) 836-5914 for a free estimate from Rowan Construction Group Hialeah.
Written by the team at Rowan Construction Group Hialeah.