Last updated November 17, 2026
Free written scope consultation - allowances, timeline, and change-order rules on paper before a single trade is scheduled
Home Additions & ADU Troubleshooting: Common Problems and How to Fix Them
A failed rough-in inspection on a home addition in Miami-Dade triggers a re-inspection fee of $65-$130 and a scheduling delay of 5-15 business days. The problem that caused it usually isn’t the thing the inspector flagged. It’s a framing detail set three weeks earlier, now buried behind sheathing and a vapor barrier. That’s the pattern with additions and ADUs: the failure shows up at the first inspection, the first hard rain, or the first electric bill, and by then the cause is closed up. This guide works backward from the symptoms Hialeah homeowners actually call us about to the construction decisions that created them, and tells you which trade to call when. We’ve watched a lot of these play out from the framing stage in Hialeah, and the same six or seven issues account for most of them.
Quick Answer
Most home addition and ADU problems trace to one of five failure points: a rough-in inspection miss (usually anchor bolt spacing, hurricane straps, or egress sizing), a flashing failure at the connection to the existing house, an undersized electrical panel, a foundation poured at a different depth or type than the original structure, or a permit scope that didn’t match the built work. The fix depends on the symptom. Interior staining near the joint points to waterproofing; a tripping breaker points to an electrician and a load calculation; a crack at the seam points to a structural engineer. Diagnosing the right cause before you hire is the difference between a $300 fix and a $30,000 one.
Styles & brands we work with
- Kitchen remodeling
- Bathroom remodeling
- Home additions & ADU
- Roofing
- Windows & doors
- Driveway & pavers
- Fence
Table of Contents
- Why do additions fail Miami-Dade inspections, and how do you fix it?
- How does moisture get in at the addition-to-house connection?
- When does an addition overload the electrical panel?
- What causes foundation mismatch between the addition and the original house?
- Symptom, cause, and who to call: the troubleshooting decision tree
- Do ADUs have different problems than in-law additions?
- Common mistakes to avoid
- When to call a professional
Why do additions fail Miami-Dade inspections, and how do you fix it?
Rough-in inspections fail for a short list of reasons, and the Miami-Dade list is more specific than most counties because of the wind code. Three failures account for the bulk of the re-inspections we hear about, and each one traces to a framing decision made early.
Anchor bolt spacing. Under the Florida Building Code (Residential), anchor bolts tying the sill plate to the foundation are governed by FBC-R403.1.6 and the wind provisions in FBC-R301. Bolts are typically required within 12 inches of each end and at no more than 6 feet on center, with a minimum embedment and a plate washer. Inspectors measure. A bolt that’s 7 feet on center passes a visual glance and fails the tape measure, and by the time it’s caught the sill is nailed, the wall is framed, and the fix means drilling and epoxy-setting new bolts.
Hurricane strap installation. Roof-to-wall and wall-to-wall connectors fall under FBC-R802.11 and the manufacturer’s evaluation report. The common failure isn’t the strap, it’s the nail pattern: eight nails in the wrong holes, or straps installed on the wrong side of the stud so they can rack. Wind-rated connections only work if they’re installed exactly as the engineer’s detail shows.
Egress window sizing. Every sleeping room in an addition needs an emergency escape opening under FBC-R310.2.1: a clear opening of at least 5.7 square feet, a minimum width of 20 inches, a minimum height of 24 inches, and a sill no higher than 44 inches above the floor. A bedroom addition with a 36-inch-wide window set at 48 inches looks fine and fails. The fix is a different window, which means framing changes.
All three are cheap to get right during framing and expensive after. A written scope that lists the inspection sequence, with the anchor bolt and strap schedule called out, is the cheapest insurance on the project. For the full picture of how an addition is sequenced from footing to final from our side, see our guide to Home Additions & ADU in Hialeah.
How does moisture get in at the addition-to-house connection?
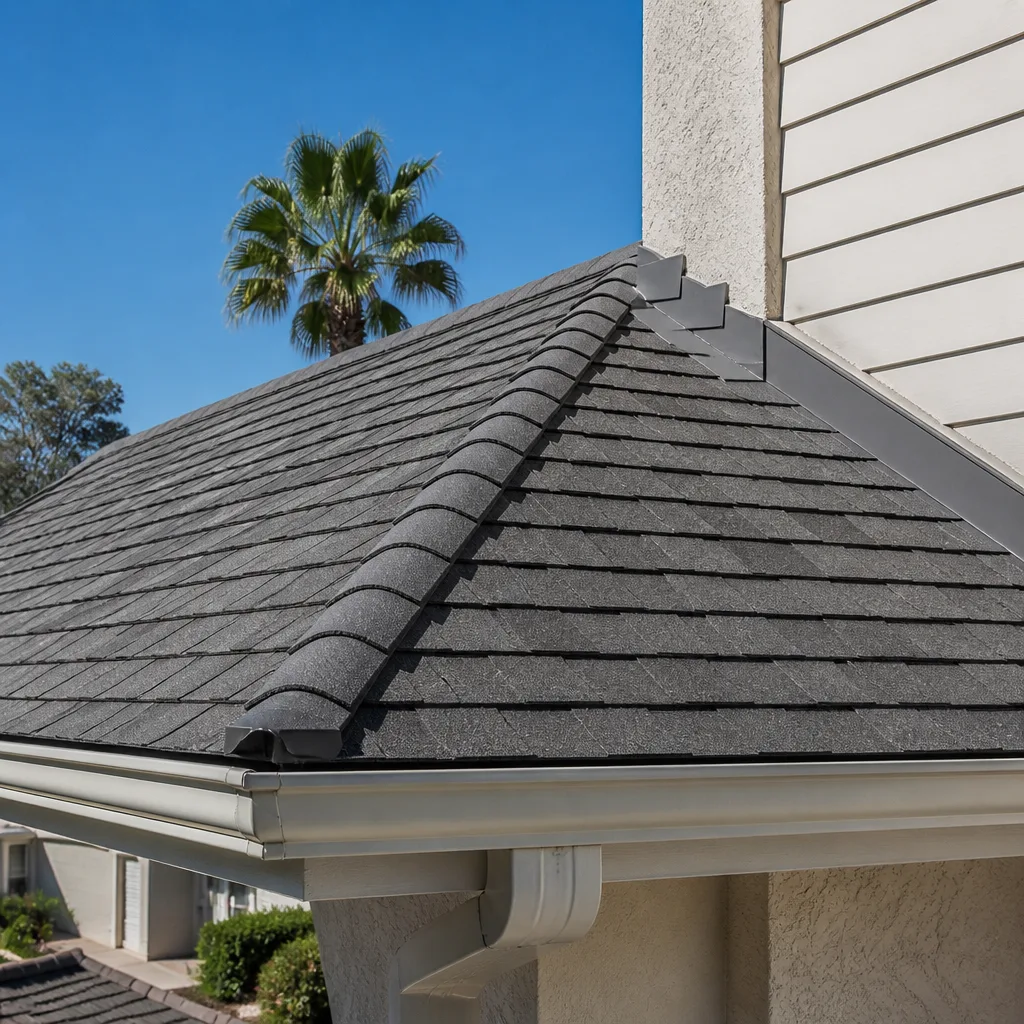
The joint between new construction and the existing house is where most water intrusion starts, and the cause is almost always the same: the roof-to-wall transition was flashed with caulk or a surface-applied sealant instead of a layered metal flashing that laps under the existing shingles or siding and over the new wall’s weather barrier.
In Hialeah’s rain pattern, that failure announces itself quickly. Afternoon thunderstorms dump 2-3 inches in under an hour two or three times a month from June through September. Sealant that would survive a slow soak gets driven sideways into the same joint repeatedly, and the failure timeline compresses to a single wet season.
The correct detail is a kick-out flashing at the base of the wall-to-roof intersection that directs water into the gutter rather than behind the siding, topped by step flashing woven with the shingles, then a counter-flashing cut into the existing wall. Each layer laps over the one below. Water should never be relying on a bead of caulk to stay out.
How to spot it early. Look for the stains, not the drip:
- Discoloration on the ceiling or upper wall inside the new space, close to where the addition meets the old house, spreading in a fan pattern from a single point.
- Paint that bubbles or blisters in a vertical line on the existing wall just inside the joint.
- Soft or stained sheathing visible from the attic or crawlspace beneath the joint, with a watermark line at the level the flashing should sit.
- A damp smell in the new room after heavy rain that fades as the weather dries out. That cycle is a leak, not humidity.
If you catch it as a stain, the flashing is accessible. If you catch it as a sagging ceiling, the sheathing has been wet for months. Call a waterproofing specialist or roofer, not a painter. Caulk over a stain is the most expensive shortcut in construction.
When does an addition overload the electrical panel?
An addition overloads a panel when the added load – another bedroom’s outlets and lighting, a bathroom’s exhaust fan and GFCI circuit, a laundry, a mini-split, or an ADU’s kitchen appliances – pushes the existing service past its rated capacity. In an older Hialeah home still on a 100-amp service, one bedroom and a bath can get you close. Add a kitchenette and a water heater for an ADU and you’ll blow past it.
You can’t tell by looking at the panel. You tell by a load calculation – the standard method (Article 220 of the National Electrical Code) that totals the connected load, applies demand factors, and compares the result to the service rating. A licensed electrician runs it in under an hour. If the number comes in over capacity, the question is subpanel versus full upgrade.
Subpanel versus full panel upgrade:
- Subpanel (a smaller distribution panel fed from the main service, typically 60-100 amps): works when the service itself has enough capacity and you only need more breaker spaces and a shorter run. It doesn’t add capacity. Roughly the cheaper of the two, in the low four figures once you include the feeder and the wall work.
- Full service upgrade (replace the main panel and often the meter base, going from 100 to 200 amps): required when the calculated load exceeds the existing service. Costs meaningfully more than a subpanel because it involves the utility, the meter, and often a new grounding electrode system, but it’s the only correct answer when the service is undersized.
Adding a circuit to a panel that’s already at capacity is a code violation whether or not the addition gets caught. If the panel is a known problem brand or the service is fed by a fuse box, the conversation shifts to replacement regardless. Electrical work on a panel is genuinely dangerous and belongs to a licensed electrician. Don’t open the cover to look.
Wet areas are where the details compound. If you’re adding a bathroom to the addition, the waterproofing choices matter as much as the wiring, which is why we specify a bonded membrane like Schluter’s product line at the shower walls rather than a painted-on coating, and Toto or American Standard fixtures where the drainage stack will be difficult to reach later. Those are choices you make before the tile goes on, from our guide to bathroom remodeling if you’re doing both at once.
What causes foundation mismatch between the addition and the original house?
Foundation mismatch happens when the addition is poured on a different slab type, thickness, or depth than the original structure, or when the two are founded on soils that settle at different rates. The structure is rigid. The two halves of a house that move at different speeds will crack at the seam. In Hialeah, where a lot of the original housing stock sits on shallow footings poured decades apart under different code cycles, this is the single most common structural complaint we hear on additions.
The signs, in the order they usually appear:
- A hairline crack at the wall or slab joint that widens over the first two years, tracking from a corner toward the center of the addition.
- Doors and windows in the new space that stick in one season and free in another, or a drywall crack running diagonally from the corner of a door frame.
- Floor height mismatch at the threshold between the old house and the new room, noticeable as a small step where the two slabs meet.
- A visible gap where the addition’s exterior wall meets the original siding, with the siding pulling away.
If the crack is wider than about a quarter inch, or a door has stopped closing entirely, stop diagnosing and call a licensed structural engineer. They’ll read the pattern and tell you whether the cause is differential settlement, a missing footing, or a design failure in the connection. Remedies range from underpinning (extending the footings deeper) to a structural tie that stitches the two frames together, and the cost is very different depending on which it is. A contractor shouldn’t be the one telling you your foundation is fine. That’s an engineer’s call, and any contractor who skips that step is guessing.
The exterior envelope around the addition is a separate discussion, but it’s the same principle: the Fence Installation in Hialeah page covers how lot-line work interacts with the addition’s grading and drainage, and why water has to move away from both.
Symptom, cause, and who to call: the troubleshooting decision tree
The most expensive mistake homeowners make on an addition problem is calling the wrong trade first. An electrician can’t fix a foundation crack, and a waterproofing specialist will happily reseal a flashing detail that was the wrong design to begin with. Here’s the map we use.
- Water stain on the ceiling or wall near the joint, spreading from a point: flashing failure at the roof-to-wall transition. Call a waterproofing specialist or a roofing contractor who does flashing, not a painter.
- Damp smell or mold in the new room after rain: air-sealing or vapor barrier failure in the wall assembly, sometimes combined with flashing. Call a building envelope or waterproofing specialist.
- Breaker tripping when the new room’s circuits are in use, or flickering lights: load or wiring problem. Call a licensed electrician and ask for a load calculation, not just a breaker swap.
- Crack at the addition seam that’s widening over months: differential settlement or a connection detail failure. Call a licensed structural engineer.
- Floor step or threshold gap: slab height mismatch from a different pour. Call a structural engineer first, then the contractor who built it.
- Inspection failure notice from the county: read what the inspector actually wrote and call the trade responsible for that stage. Anchor bolts and straps are the framer’s. Egress is the window and framing. Electrical is the electrician. Don’t pay a general contractor to guess.
- Roof leak over the new space that only appears in wind-driven rain: missing or reversed counter-flashing. Roofing contractor.
One more: if the problem is that your permitted addition was built without a permit, that’s a different kind of fix. Unpermitted work has to be brought into compliance, which usually means opening walls for inspection. Call the county building department first to find out what’s required before you call anyone else.
Do ADUs have different problems than in-law additions?
ADUs fail in more ways than in-law additions because an accessory dwelling unit is a full second household. It has its own kitchen, its own bathroom, its own laundry, sometimes its own utility meter, and it’s subject to the same code as a primary dwelling – plus local rules on setbacks, height, and size. An in-law suite sharing a kitchen and a panel is a much smaller problem.
The additional failure points on an ADU:
- Service capacity. A second kitchen’s range, refrigerator, and dishwasher plus a tankless water heater and a mini-split can push a 100-amp service past its limit by a wide margin. Load calculation first, then decide on the upgrade.
- Second-meter requirements. Some ADU configurations require a separate utility service, which involves coordination with the utility and can extend the timeline. Plan for it in the electrical scope, not after the walls close.
- Plumbing and drainage. A second bathroom and kitchen need their own venting and often a larger drain to the main. A short dump into the existing stack can create backflow issues that appear as slow drains or gurgling fixtures.
- HVAC sizing. A separate unit, not a branch off the main system. A 400 square foot ADU with its own mini-split costs less to run than extending the main house’s ductwork, and performs better.
The other thing ADUs do is lie about their own cost. The permit, the utility coordination, and the second-meter requirement push the number higher than the framing-and-drywall estimate suggests. A written scope with those items called out is how you avoid finding out mid-project. If you’re also doing hardscape to reach the ADU, our Driveway & Pavers in Hialeah page covers the walkway and driveway side of the same lot.
Common Mistakes to Avoid
- Building to the design, not to the inspection schedule. The anchor bolt spacing, strap nailing, and egress dimensions belong in the written scope as a checklist the framer signs off on before the sheathing goes up. Skipping that step is how a $65 re-inspection fee becomes a two-week delay.
- Sealing the addition joint with caulk instead of flashing. A bead of sealant at the roof-to-wall intersection will fail within one or two wet seasons in Hialeah’s rain pattern. Layered metal flashing that laps under and over is the only detail that survives.
- Adding circuits before calculating the load. An electrician who adds a breaker without a load calculation is guessing. Do the calculation first, then decide on a subpanel versus a service upgrade.
- Pouring the addition slab at a different depth than the original. The structure will move at different rates. Same depth, same soil prep, and a connection detail designed by the engineer.
- Treating an ADU like an in-law suite when it comes to utilities. A second kitchen and bath need their own service capacity, drainage, and HVAC. Budget for the second-meter conversation early.
- Calling a painter for a water stain. Paint over a flashing failure hides the leak for one season and rots the sheathing for three. Find the water first.
- Hiring the wrong trade to diagnose. A waterproofing specialist on a foundation crack wastes the visit. Read the decision tree before you pick up the phone.
See the difference
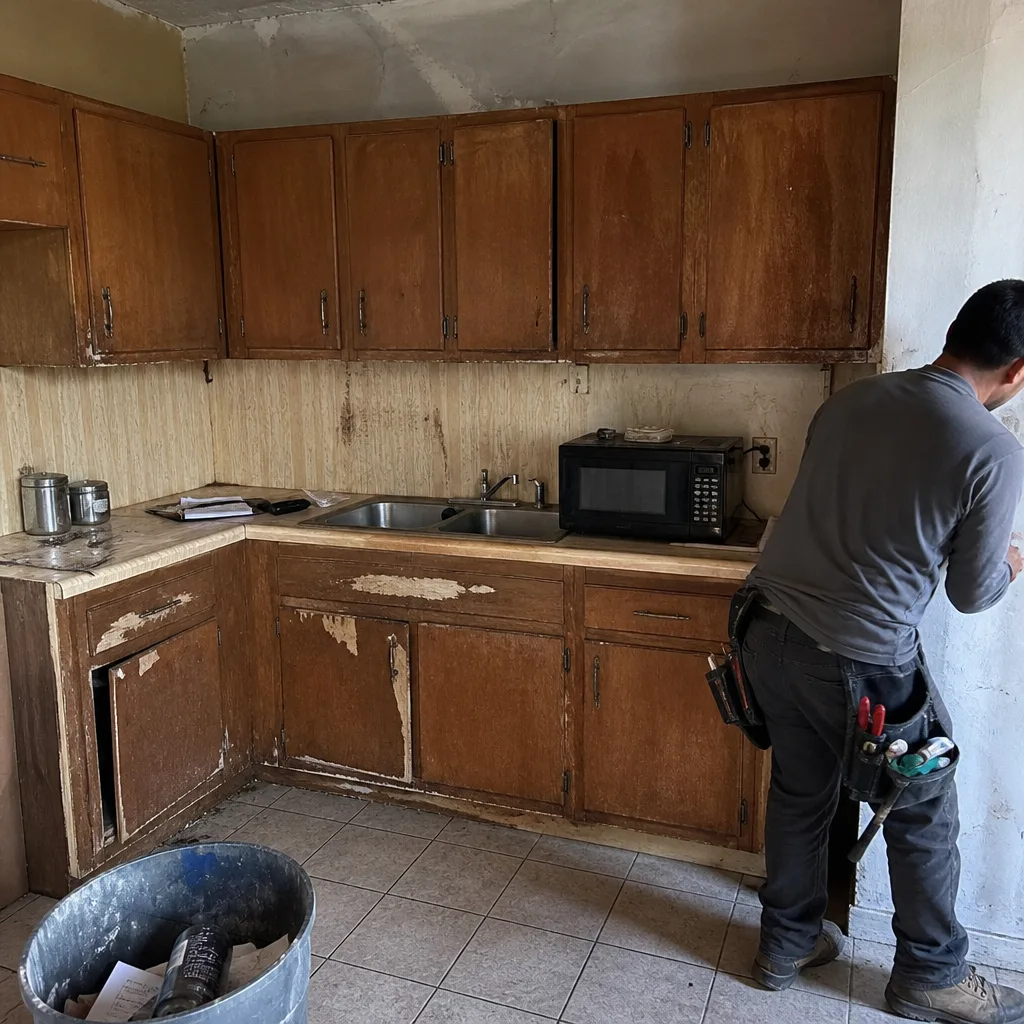 Before
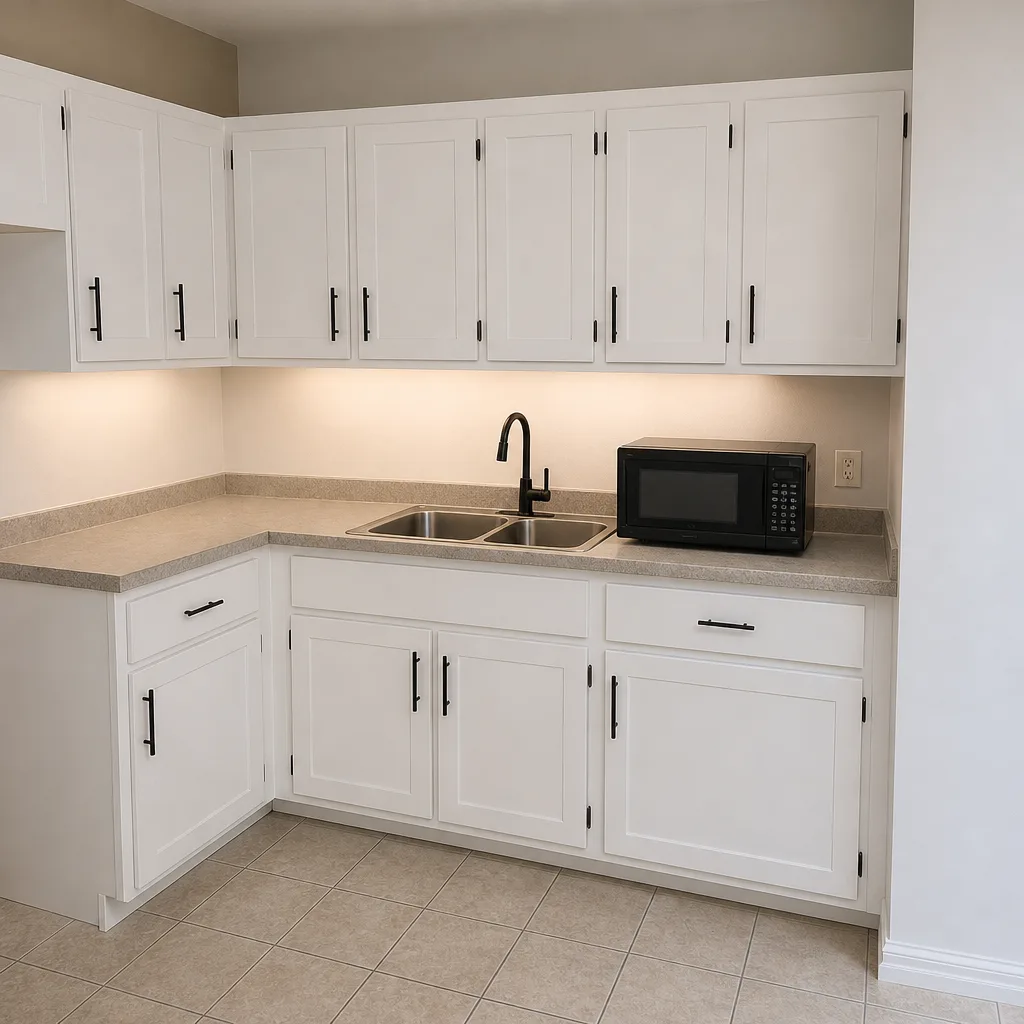 After
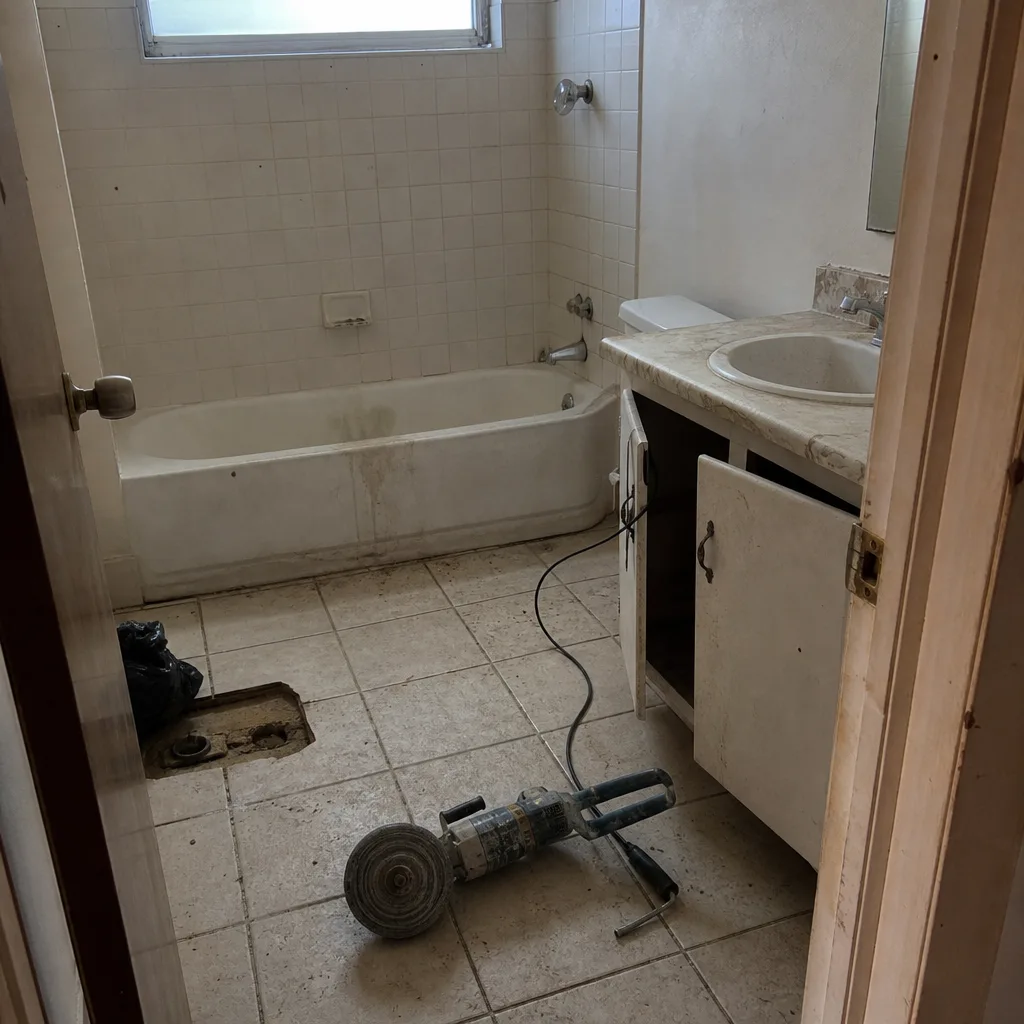 Before
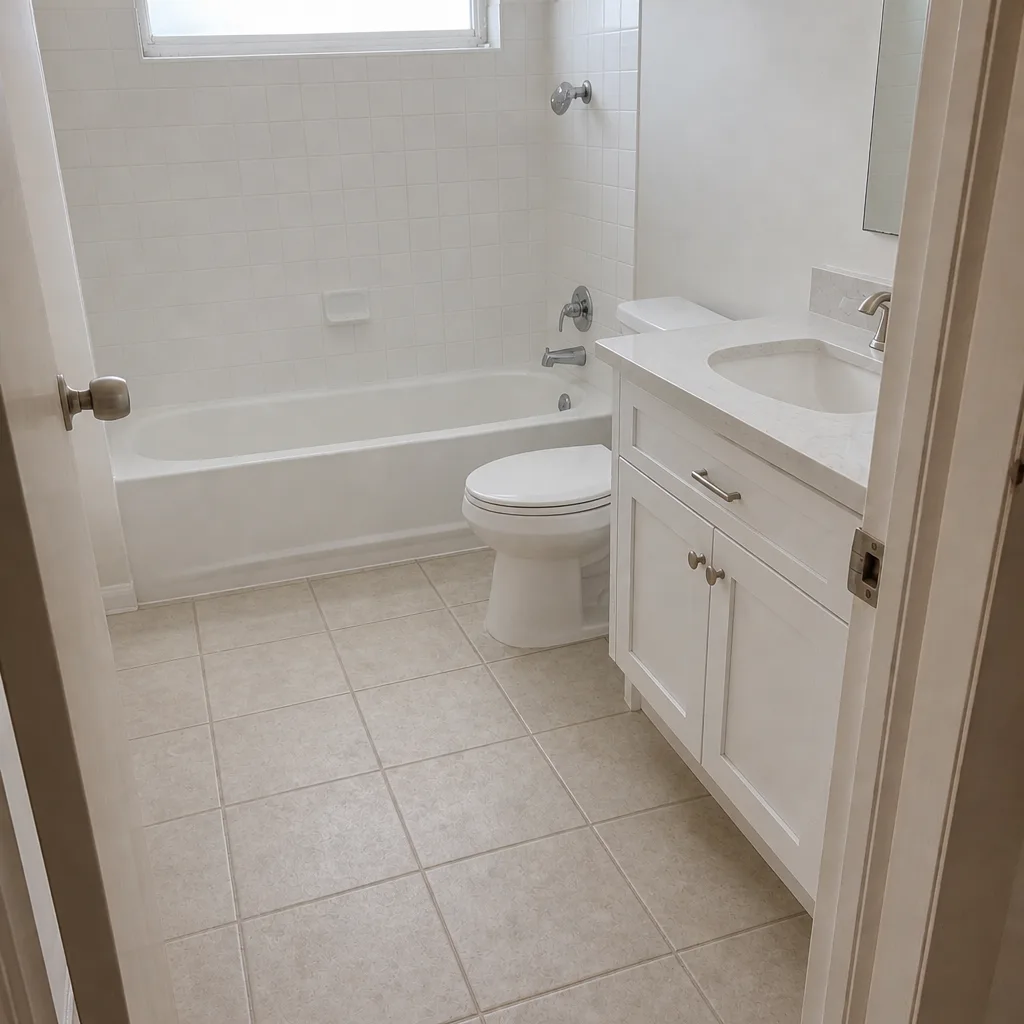 After
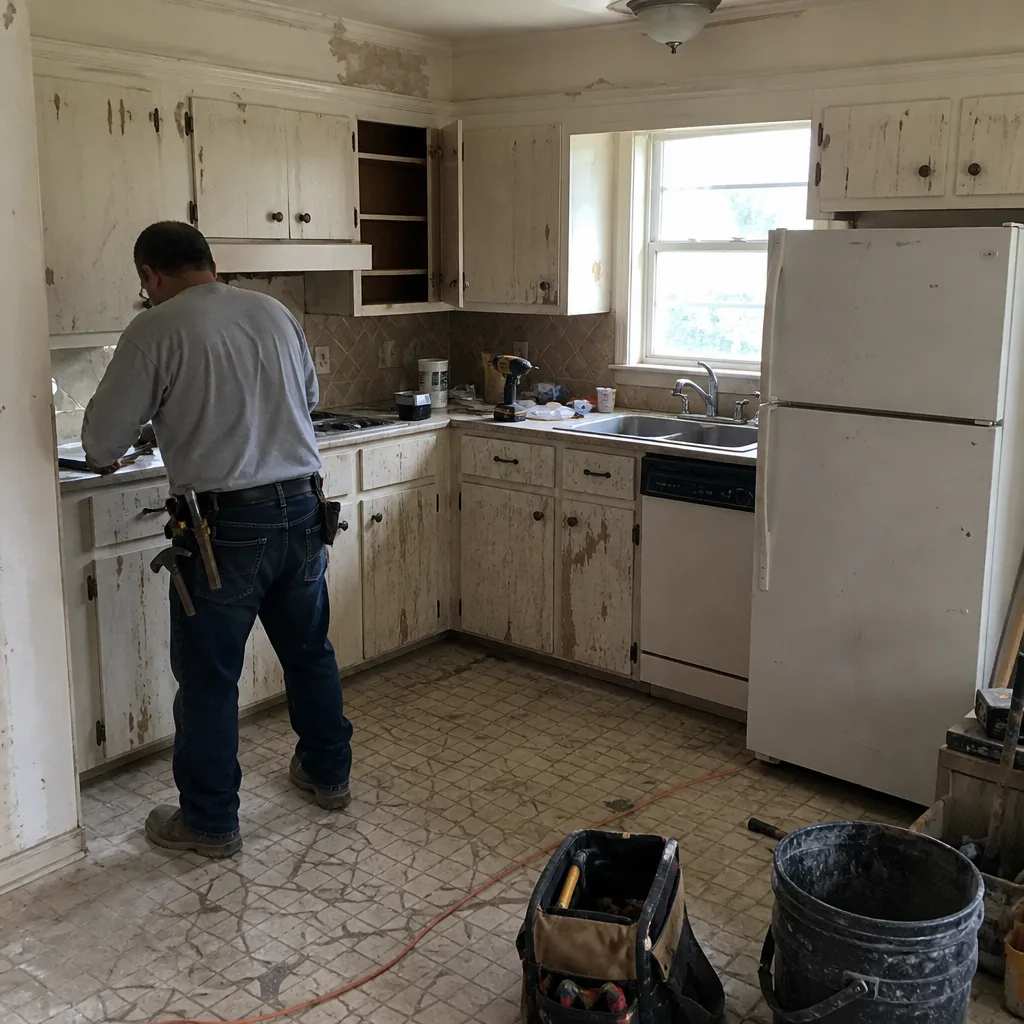 Before
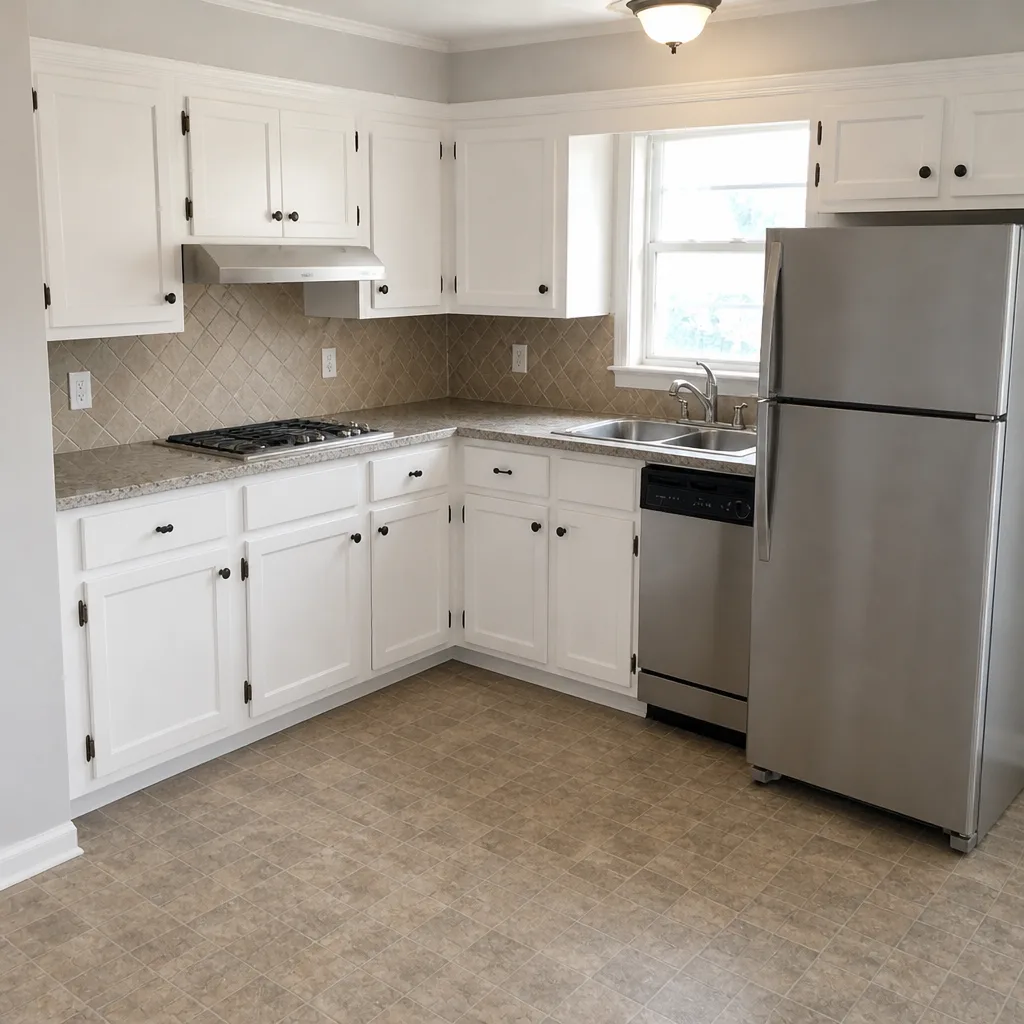 After
When to Call a Professional
Call a professional when the symptom is structural (a widening crack, a door that won’t close, a floor step at the addition threshold), electrical (breakers tripping, flickering lights, an undersized panel), or about water (staining, damp smells after rain, a leak that appears only in wind-driven storms). Don’t attempt to diagnose any of these yourself beyond noting where they are. High-tension components, panels, and foundation issues are genuinely dangerous, and the cost of getting it wrong is a lot higher than the cost of the visit. For anything you’re still unsure about, a free second opinion on a written estimate is the cheapest next step. Rowan Construction Group Hialeah offers free estimates in Hialeah – call (888) 836-5914. Every quote comes as a flat written price with a written scope before any work starts, and no change proceeds without a signed change order.
Frequently Asked Questions
The re-inspection fee itself runs $65-$130 in Miami-Dade, but the real cost is the delay – 5-15 business days for the rescheduled inspection, plus the labor to correct the deficiency. A missed anchor bolt or an undersized egress window can mean $500-$2,000 in framing corrections once the walls are up. The fix during framing is a few hundred dollars. Call (888) 836-5914 for an exact quote on bringing your project into compliance – estimates are free.
A stain that appears only in wind-driven rain points to a flashing failure at the roof-to-wall transition where the addition meets the original house – usually a missing kick-out flashing or a reversed counter-flashing. Get a waterproofing or roofing specialist to look at the joint from the outside before painting over it. Caulk will hide it for one season and the sheathing will keep rotting for three. Call (888) 836-5914 to schedule a free estimate on the repair.
Not without a signed change order. Under our Haven Standard, the written price is delivered before any work starts, and no change to the scope proceeds until the change order is signed. That discipline is why our projects finish within a few percent of the agreed price. If a hidden condition turns up – like rot behind a wall or a footing that needs underpinning – you get a written change order with the number on it before anything moves. Call (888) 836-5914 to schedule your free estimate.
Yes. Any addition or ADU in Hialeah requires a building permit, and the work must pass the rough-in and final inspections before it can be occupied. Electrical, plumbing, and structural work each require their own inspections. Unpermitted additions are a real problem at resale and can be forced to open walls for compliance inspection. We pull the permits and manage the inspection sequence as part of the written scope, so you’re never the one chasing the county. Call (888) 836-5914 for a free estimate.
A single-room addition typically runs 4-6 months from permit issuance to final; a full ADU runs 6-10 months depending on the service upgrade, the utility coordination, and the inspection schedule. The permit review itself can take 4-8 weeks in Miami-Dade before construction starts. We give you a written schedule with the inspection milestones listed, so you know where the project should be at each stage. Call (888) 836-5914 for a free estimate and a realistic timeline.
Yes. We do a documented assessment with a photo record of what we find – the condition of the substrate, the flashing detail, the panel capacity – and put the repair scope and the flat written price in front of you before any work starts. If you have a written estimate from another contractor, we’ll review it line by line for free. Call (888) 836-5914 to schedule.
The Bottom Line
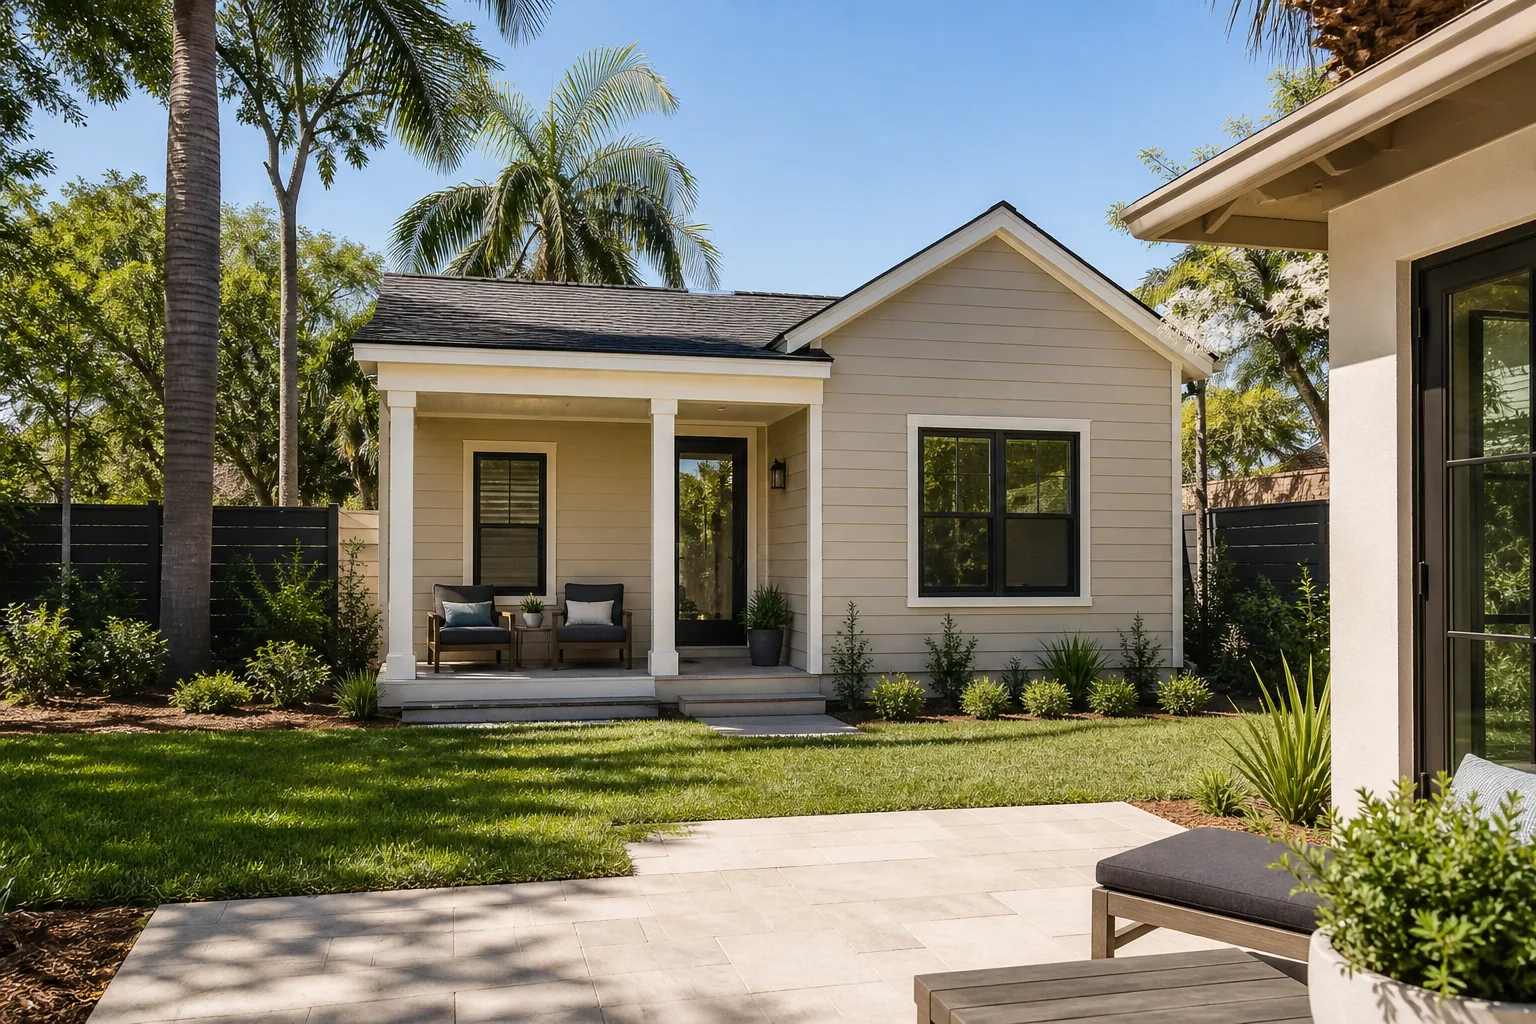
Most addition and ADU failures trace back to a decision made early and buried under later work: a framing detail caught by the first inspection, a flashing detail outrun by the first wet season, a load calculation that was never run, a foundation poured at a different depth than the original. The fixes range from the cheap (re-caulk a joint’s exterior, add a kick-out) to the expensive (underpinning, service upgrade). The one thing that reliably changes the outcome is documentation – a written scope with the inspection sequence, a loading calculation on paper, a photo record at each stage. If you’re starting an addition or troubleshooting one in Hialeah, the first step is a written price, and we do that for free. Call (888) 836-5914.
Written by the team at Rowan Construction Group Hialeah.